

You’ve caught the travel bug. The outdoor life is calling you. The van life is calling you. Whether you rented out a van to try it out or you’re breaking in your brand new van, I know the first trip can be nerve wracking. There are a lot of things to consider and your trip is just a few weeks away. Well, chill out my friend, I’ve gathered a few tips on how to survive an overnight camping in a van.
What do you need to consider when going on an overnight van camping? The 3 essentials are your body, your van and the environment. Vehicle must be in top shape and has undergone preventive maintenance checks to avoid road breakdowns. Check your food and essentials inventory from time to time. Enjoy the outdoors but never compromise your safety.
Choosing the van life is easy. But it’s not just about getting a van, picking a destination, and filling your gas tank. Spontaneity does spice things up, but you would not want to be stuck inside the van when it’s raining, with no food or drinking water. Let’s see how pre-trip planning can save you from that and why you should learn first aid survival skills. Check out the tips to keep you safe while on the road and why we suggest that you try stealth camping. Lastly, let’s find out why you need to start small and slowly build up your trips.
Trip Planning: If You Fail to Plan, You Plan to Fail
Don’t Skip Pre-Trip Planning
Pre-trip planning will get you excited and prepared for the trip. Doing pre-trip planning will help to enjoy and maximize the trip and avoid cutting it short. Van camping is unpredictable due to many factors like the road or weather, for example. But it can be an unexpected trip that you are prepared for.
How Long is the Trip
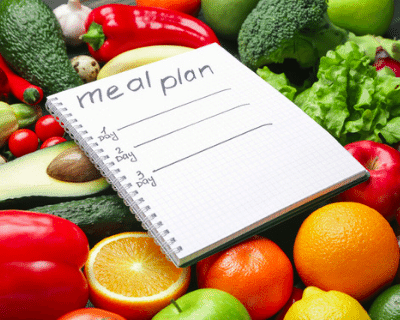
Before you get excited and start planning meals, you need to determine who is going with you and how long the trip will be. These numbers will be useful for a handful of things during planning. You need to know how many people, children and adults, you’ll be preparing meals for. One thing to ruin a trip is a squealing hungry kid demanding to be fed. Meal planning will help ensure that you’ve prepared enough portions of food per day for the duration of the trip. Remember that a growling stomach will never appreciate the sunset. For your convenience, plan your water supply for drinking, washing dishes, camp needs, and showers.
And last, you need to consider the loading capacity of your van. Your van’s total weight should be the total weight of all the passengers, the van’s weight, and the supplies. The majority of gas stations on the freeway have scales for you to check your van’s total weight. Overloading is against the law and poses great danger while on the road and may cause severe accidents. While driving, your wheels may blow out, causing the vehicle to topple. Overloading also reduces the effectiveness of your brakes. Some insurance companies void coverage due to overloading, and it is against the law. Make use of weighing stations available in gas stations and keep track of your van’s overall weight. Uneven loading is just as hazardous as overloading, don’t forget to consider your supplies’ placement to ensure even loading throughout the trip. Though there is a slim to no chance of the van tipping while parked, accidents when moving due to uneven loading are blown up tires and cases of vehicles pulling in one direction.
Start with the End in Mind

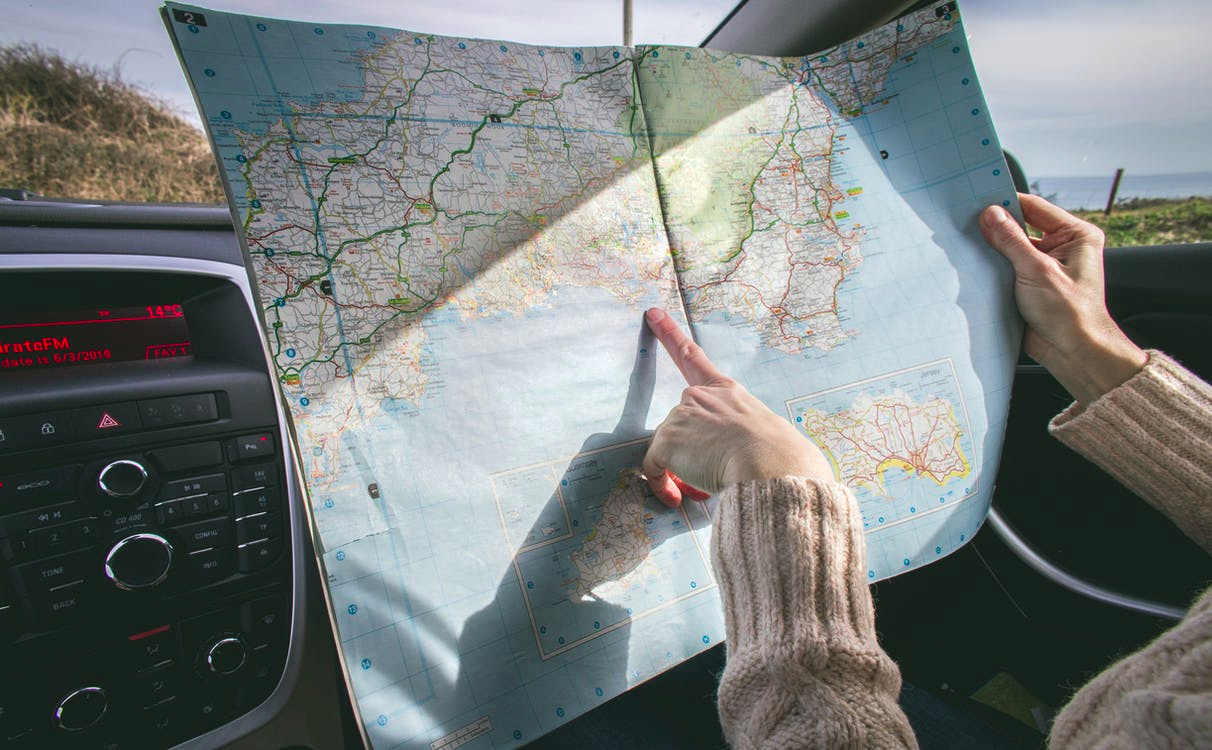
Imagine yourself in your destination, then start planning from your starting point. List down the places you want to visit along the way. Find out if they are open on the day of your visit to avoid wasting time and, of course, gas. Most tourist spots have their operating hours available on the web. Make sure to check recent customer reviews on the place as well. You can learn a lot about the area through the reviews, and some friendly customers may leave tips you can use. Refer to the updated fees, too, so you can include them in your budget.
Identify your stop-over points and pin them on your maps. Assess the place if you can restock or buy supplies in the stores there. So you can plan to spread buying your grocery supplies from your stop-overs or buy them in one go from your home. Also, consider your driver when planning stop-overs. Lucky for you if you have an alternate driver, but still, stop-overs should be strategically designed at least every 3-4 hours for the drivers to stretch out their legs and for bathroom breaks.
Don’t forget to consider choosing your destination that you need to restock everything for your trip back home. Check nearby stores and adjust meal plans accordingly based on supply availability. You may also want to check-in with relatives you can visit while you’re in the area.
Meal Planning : What You Should Consider and How to Work with Food
Meal Planning: Consider Nutrition, Weight, Weather and Needed Gear!
Nutrition
Being outdoors does not mean you won’t be eating right. When planning for your meals during a van camping trip, proper nutrition should be considered. A balanced combination of carbohydrates, proteins, fats, vitamins, and minerals should be present. Your meal plan must view members of the trip that have any special food consideration. Common particular concerns are diets for diabetic, gluten and dairy allergy, vegetarian and nut allergy.
If someone from the group has low blood sugar, consider in the meal plan the diet and time. Choose high-protein, low glycemic-index meals. Some staples to keep on hand are eggs, canned chicken or tuna, cheese, and low-carb wraps. Include vegetables on your grocery lists like celery, cucumbers, or radish. Here is a pro-tip for you: pickles! They add flavor and are a good source of electrolytes that you need to replenish after a whole day trek.
It is essential to keep the gluten and dairy-free items from regular ones to avoid mixing them up. Better to have dedicated cooking utensils for them to prevent cross-contamination. This is essential for those with really low intolerance or severe allergies. To keep you organized and avoid putting out so many items, put labels with names. Most gluten and dairy-free ingredients are more expensive than regular so prevent things from going bad and wasting money label them with expiry dates.
Plant-based ingredients, especially plant-based proteins, may not be available on where you are going. Best to buy all ingredients from where you’re coming from. Vegan camping staples are oats, quinoa, multigrain cereal, nuts, and avocado. You can get your plant-based protein from the following: seitan (wheat meat), edamame, tofu, lentils, peas, or beans.
Weight
For any camping trip, weight is always a consideration. Having a camping grocery list helps you to plan your weight distribution throughout the trip. List each food and ingredients, be specific as you can be on the number of your components. Determine if you’ll be buying in advance or along the road. This is to avoid being caught short of your groceries and supplies when you least expect it. The key is to write what you’ll have each meal and by how much each meal.
Weather
Where you’ll be going and your activity for each day plays a vital role in your meal planning. If you’re going to be in a cold-weather the whole duration of the trip, plan for hot meals to keep you warm. If you are hiking the entire day, consider not to prepare a salty meal as you may get dehydrated along the trek. But at dinner, you’ll want to replenish that lost electrolytes.
The weather plays a role as well in food storage. If the whole trip would be in a hot environment, keep the fridge or the cooler colder. You can refrain from the fridge’s frequent opening or the cooler to keep hot air from coming in. A pro-tip is to keep your cooler cold by DIY-ing a cooler cover using aluminum insulation.
Gear
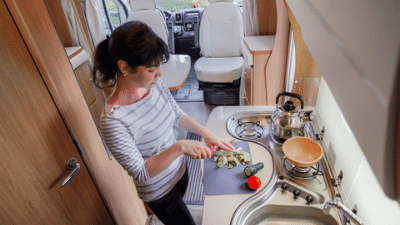
Cooking staples to keep in mind: camping stove, gas, cutlery, chopping knife, bowl, plate, a mug, and cooking pots. Check if you can do fire cooking in your destination or use the stove or grill. Include the gas, propane, or butane you’ll be consuming in your grocery list. You would not want to be on the campsite with a malfunctioning stove, so make sure to test cooking gears before the trip. If your van has a built-in stove, ensure that there are no leaks.
Here is a secret, prepare all you can in advance so you don’t have to bring lots of crockery. Cut all your fruits and vegetables at home, prepare the marinade, pre-cook your meat. Doing these will lessen preparation time in camp, reduce cleaning time, and lessen the gears you have to bring with you.
Meal Planning: Working with the food
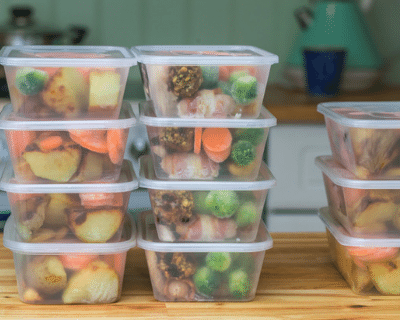
Here is a not-so-secret secret – prepare all you can do at home in advance. Doing this lessens meal preparation while on a trip, less cooking tools to pack, less time to clean (I know you like the sound of that!), and less garbage. You can prepare in advance, like cut your fruits and vegetables at home, prepare the marinade, pre-cook your meat and just put them in the freezer. Your fruits and vegetables can be cut in advance and placed in ZipLocks to have a smaller packing space. Before you leave, pack and label ingredients and meat with the date to be cooked according to your meal plan and what meal of the day.
Preparing in advance is a big help, especially if you’ll be bringing meat on your trip. Boiling takes a long time, especially when the weather is cold. You’ll consume more fuel and time to make the meat soft or cook pasta. Larger slabs of meat may take time to cook; cut your meat into smaller pieces, and cook them quickly. Or you can pre-cook in vinegar to preserve. Also, plan to cook meals in different ways. Your proteins can be BBQ’d while your carbohydrates are cooked on the stove. This way, there is less waiting time for food to finish cooking. Lastly, eat the more perishable meats first. Marinated meats go before canned foods. Remember, save the beans for Thursday.
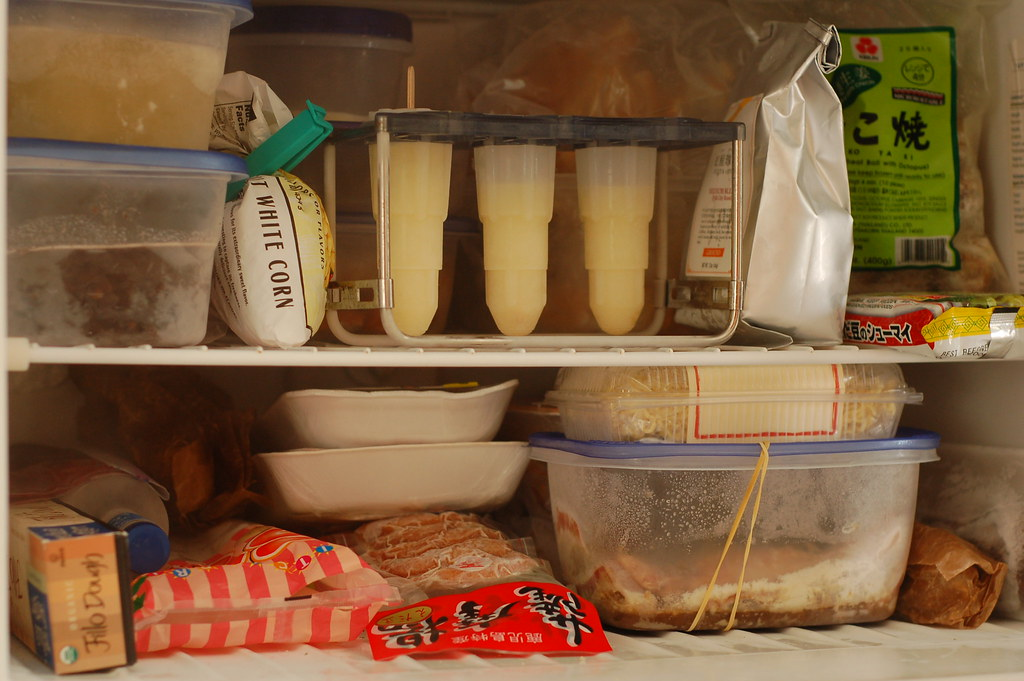
Pack your coolers or fridge wisely. If your van does not have a fridge, take three coolers with you to store meat, ingredients, and drinks separately. It never hurts to take an extra cooler with you, even if your van has a fridge. Your drinks storage is expected to have heavy traffic because they are regularly opened. To maintain the cold, keep separate storage for your drinks. Organize food following the order of your meal plan. Individually pack ingredients that would be enough per meal to avoid thawing the whole meat and just taking a portion out of it. Do not return thawed food to the cooler; cook them, then serve them later. To avoid food cross-contamination, keep raw meats away from other food. Raw meat drippings contain bacteria and should not be in contact with other food. That is why it is essential to bring multiple coolers to separate food from drinks.
Proper ice management is essential when using coolers. You can line the inside of the cooler with aluminum foil. This will help to reflect heat and light and keep the heat out. Do not use ice from gas stations; they melt quicker since gas stations’ storage is opened regularly. Use a layering technique in packing your cooler tight. First, place a layer of ice block at the bottom of the cooler, place the frozen meat, add more ice blocks to complete your first layer. Sealed and packaged items should be on the second layer, while delicate items should remain on the top layer. Food should take up no more than 60% of the cooler’s storage space, and the rest should be ice! You can also explore using dry ice wrapped in newspaper or squeeze in a few gel packs in there.
If there is one thing you should also avoid during the trip is food poisoning. Unfortunately, food poisoning on camping trips is not uncommon. Proper meal planning can alleviate this. First off, start your meat frozen. After your grocery run, wash the meat properly and preserve them with salt before putting them in the freezer. Choose food that is slow to spoil, like processed luncheon meat or hotdogs.
As crucial as storage is knowing to cook food at the right temperature. Fresh cuts of beef, pork, and fish cook at 145 degrees Fahrenheit (63°C). Ground meats at 160 degrees Fahrenheit (71°C) and poultry at 165 degrees Fahrenheit (74°C). Food and meat get spoiled due to bacteria, and bacteria thrive in different temperatures. Keep in mind the food danger zone: Frozen meats – 40 degrees Fahrenheit (-40°C) or lower while hot food danger zones are at 140 degrees Fahrenheit (60°C) or above.
Keep clean whenever you are handling food. Wash hands and surfaces often and wipe areas clean after washing. Bacteria thrive in dirty environments, though it may be a little harder to keep it clean during camping, especially if there is a limited water supply. You can opt to bring in wet wipes for cleaning.
Water supply

While on van camping, you need to consider the water you’ll be consuming for camp chores like cleaning, washing dishes, and drinking water. The rule of thumb for drinking water is up to a gallon of water per person a day. Keep your cleaning water supply to a minimum by bringing wet wipes and oil-absorbing sponges.
When preparing for your stop-overs and destination, check in advance if your chosen place has a water supply for a shower and dishwashing. You can opt to use public toilets and gas stations to take a shower, or you can bring your portable shower. There are different types to choose from in the market; bag type or contained shower unit. Bag types are more flexible but have a special requirement to be hung at a high pole to flow smoothly. While contained units are usually battery operated but they do pack extra weight. You can also choose to bring a portable shower head and just put them in a bucket. Most portable showers have a 20L capacity; remember to put them in the van weight consideration.
Stick to bathing essentials during the trip. Soap, shampoo, and conditioner are enough. Leave the bubble bath at home.
Plan your route, and your destination parking
Pick two parking every leg of the trip – your destination parking and alternative emergency parking spaces along the way. In case you encounter delays, there is no need to scramble to find a spot.
For safety purposes, keep your stop-overs quick and essential. You can time your stop-over for gas refills or grocery runs. Keep them to a minimum and inform your home contact if you intend to stay longer. Familiarize yourself with the environment for your stop-overs and chosen parking place. Look out for the nearest grocery for restocking and emergency supplies, gas stations just in case you run out, and, importantly, hospitals or clinics in case of emergency.
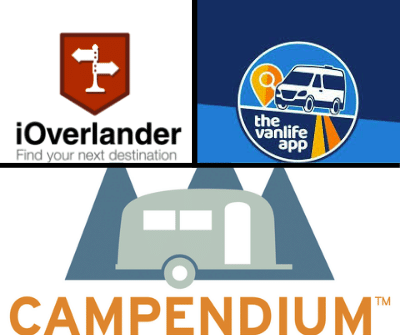
Have at least two navigation apps ready with pre-downloaded maps and one physical map. In case your battery runs out. Here are a few recommended apps for van camping:
- iOverlander – provides information on Overlanding in general. What’s good about this app is that it allows access to places for Overlanding to its users.
- Campendium – is a site that has full information for RV camping. It contains information for national parks, national forests, and state parks arranged per state.
- The Vanlife App – is made for the community of vanlifers. This app allows you to send messages to members and connects you to resources like overnight parking, campgrounds, and other outdoor activities.
There are many public lands you can use for free parking. Just make sure to always check with the ranger station or local office. Public lands are federally assigned lands like national forests or national grasslands, Wildlife Management Areas, or lands under the Bureau of Land Management. You can go to https://www.blm.gov/ to check out public lands handled by the BLM or check your map. These areas light shaded green areas to indicate national forests, and mostly there are signs along the road. You can al
You can utilize 24-hour stores and petrol stations as overnight parking areas. Some Walmart branches allow them, but you have to check-in with the manager to make sure. Or you can park in petrol stations and buy a few items so you can stay overnight.
Check Your Most Important Partner – Your Van
Vehicle Check

Your van is your best bud while on the trip, so it is important to keep it in top shape even if you are using it. Schedule your van for vehicle preventive maintenance prior your trip. Check the coverage of your insurance policy and make sure to have the direct line of your insurance agent in a worst case scenario that you would need it.
“BLOWBAGETS” – Battery, Light, Oil, Water, Brake, Air, Gas, Engine, Tire and Self
Practice to check “BLOWBAGETS” every time before you leave.
Battery
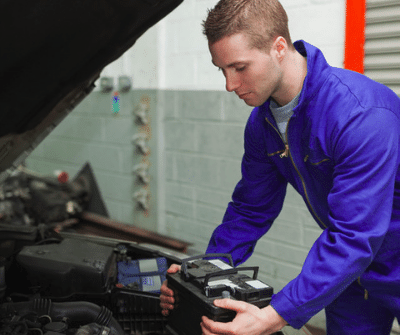
Check the rating of your existing battery and keep a spare one with you. For emergencies, it is best to know the basics of jump-starting a battery.
Lights

Check all lights: headlights, turn signalers, hazard lights, and tail lights. Pro-tip is to have someone help you and avoid a lot of trips in and out of the van.
Oil

Check for a leak spot under the van. Your oil engine level should be within the line indicator; refill if it is below the minimum level. The color of the oil must be brown or black. If it is milky, this might mean that the lubricant might be leaking into the engine.
Water
When traveling during summer, keep an eye on the van’s water level to avoid overheating. Keep at least a liter of water as spare.
Brake
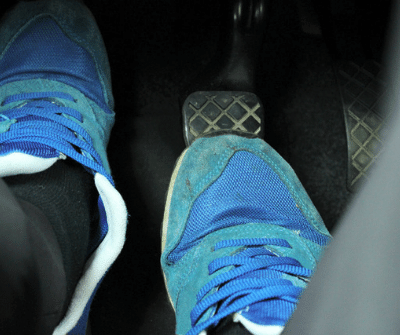
Push the brake pedal to the floor. It should not be spongy or have resistance; otherwise, bring it to the mechanic for checking.
Air
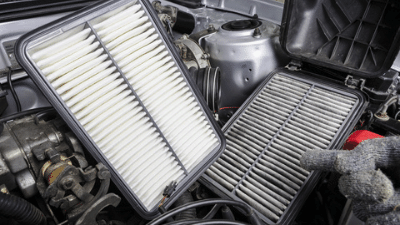
Check your van’s air filter, it is usually placed near the van’s cold air collector box. It should be easy to remove it and inspect it. Light should be passing through the filters, if not you can try tapping it lightly to take off dust. If you still can’t see light passing through, take the vehicle to a mechanic to check.
Gas
gas up before leaving. Balance your gas consumption by following the itinerary, so there will be no need to rush. Slow down to enjoy the view and to lessen gas consumption. Avoid running on reserve, so gas refills should be strategically planned.
Engine
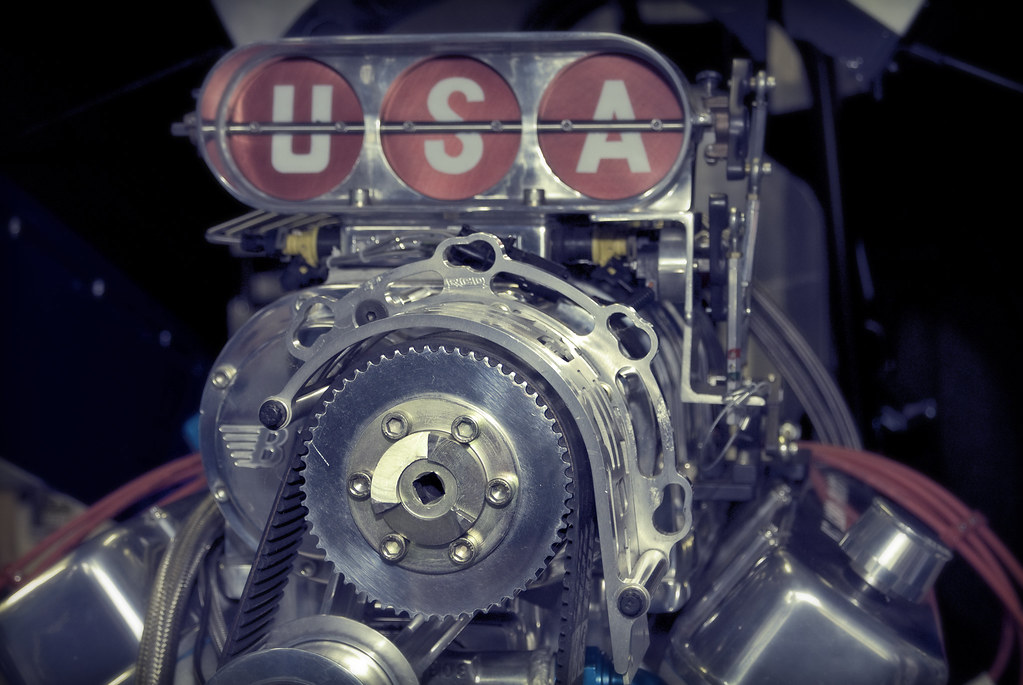
Start the engine and listen for any unusual sound. If you hear any ping noises or knocking sounds, it may be best to take the van to your mechanic.
Tire
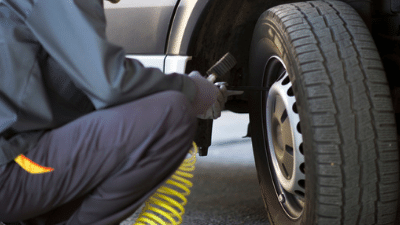
Check for bulges, tears, nails, or any sharp objects indented into the tire. You can do the coin check the tire depth. Insert a coin into the tire grooves; if you see more than half of the coin, it’s time to change your tires.
Self
An overused line but still easily ignore; don’t drive drunk. Request for a stopover if you feel tired or sleepy, this saves lives. Studies show that a fatigued driver is actually more dangerous than a drunk one! Avoid road rage, don’t go when stressed or angry. And lastly, do not forget to bring your documents: driver’s license, vehicle registration, proof of insurance, and personal IDs
The Best Tool is the One You Have With You
Roadside emergency kit
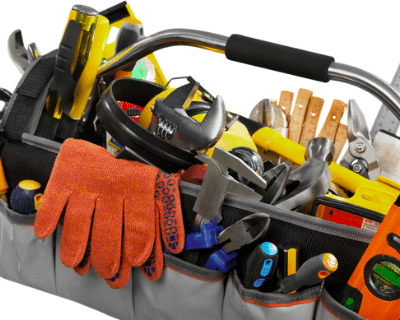
Maintain a well-stocked toolbox with only the standard tools fit for your van. Here are a few staples used to fix common van issues: jack, jack stand, ratchets, wrenches, and screwdrivers. What’s important is you know how and when to use the tools. Here are a few pro-tip to add to your toolbox: headlamp, duct tape, spare fuses (ensure all fuse types have spares), a multi-tool – for quick fixes, wire strippers, and extra electrical connectors.
Don’t forget to load up the required emergency items for a van, like the fire extinguisher and first aid kit.
Clothing
Practice layering your clothes. This will be useful regardless of the weather on your trip. Keep in mind the three layers: base, middle and outer layer. Base layer is the underwear layer, these clothes keep sweat off the skin. Choose anti-wick and dry fit materials for your base layer. The middle layer is the insulating layer; choose materials that retain body heat to protect from cold like fleece. The outer layer is the shell layer or your shield from wind and rain, waterproof materials are best for the outer layer.
Sleeping Gears
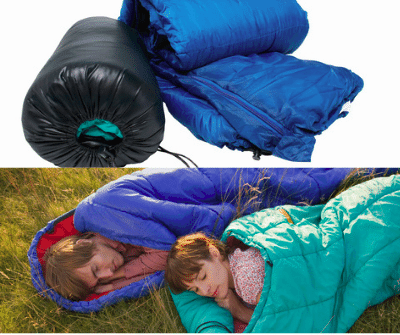
You can opt to bring in a sleeping bag and sleeping pads during your van camping trip. Just make sure to check sleeping bag type as they correspond to different seasons. Summer season bags are best to use at +30° F and higher (0° C and higher). A 3-season sleeping bag is best to use at temperatures between +15°F to +30°F (-10° -10° F to 0° C) while winter sleeping bags are most effective at temperatures +15°F and lower (-10° C and lower). You can also bring mosquito nets as protection from insects in camp.
Bring a Small Amount of Cash
Keep a small amount with you for tolls and entrance fees on some attraction spots. Not all establishments accept credit cards, especially in small towns. Also, use cash for quick in/out of a store for emergencies or when the place is sketchy.
Extras
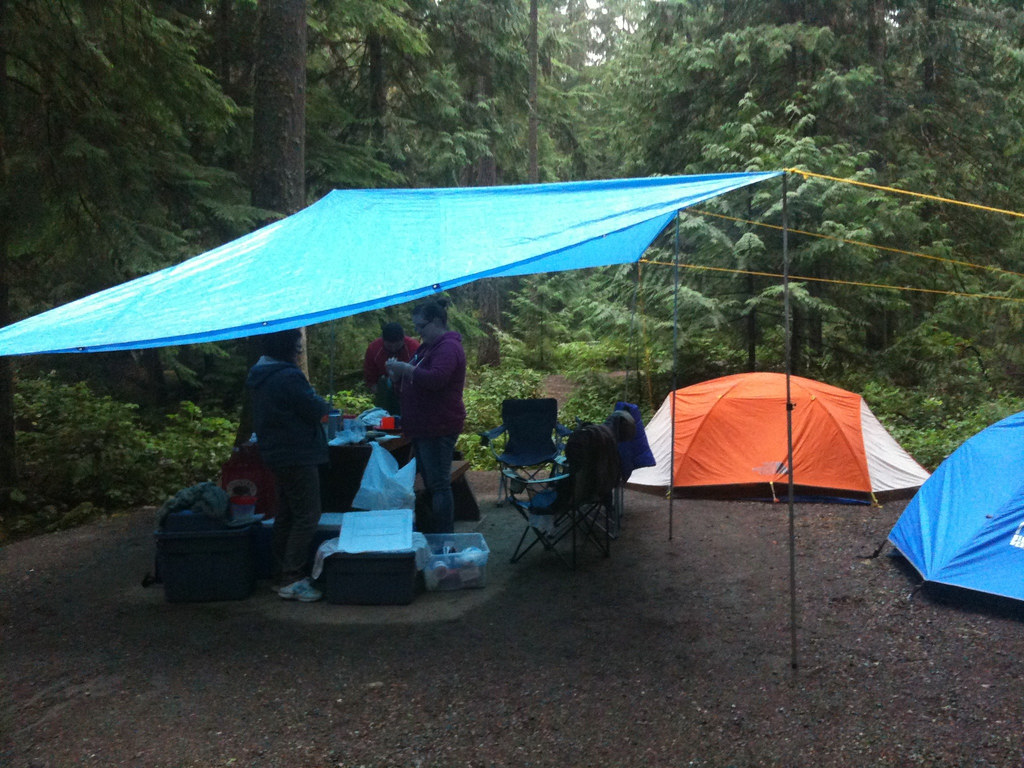
These few items are not essentials and can be left at home. However they prove to be quite handy in some instances.
A tarp or canopy can be used as extra shelter when raining. It may be too cramped for some to stay inside the van while waiting for the rain to stop. And you can use them when you need to change a tire or when the car breaks down when it’s too hot or raining hard outside.
Bring anti-moisture packs to help keep the van fresh and damp free to avoid molds from building up.
Clear storage bins or reusable plastic are your best bet to keep your ingredients organized. No need to unpack everything if you know or see where you put them. You can also use them for leftover food.
Know How to Save Yourself First
Bring a comprehensive first aid kit

Keep a copy of prescription meds in a safe place; a copy in your phone, emergency bag, wallet and with you always. Don’t forget to stock up on your personal medicine before the trip.
Check your first aid kit: ensure that medicines are complete and not expired. These essential items should be complete:
Cleaning, sterilising and disinfecting – these are items used to disinfect wounds i.e. antiseptic wipes and medical disinfectants
Covering, wrapping and protecting – these items ensure wounds are protected like gauze and band aids
Medicating and pain killing – aside for paracetamols and pain relievers you can also add aloe vera gels for quick relief from sunburn. Add in some ice and heat packs to be used for sprains or cramps.
Prepare a list of doctors and hospitals along your route
While planning your itinerary and route, check for hospitals or clinics along the way and on your parking destination and prepare a list of hospitals and corresponding ER numbers. This list will ensure a quick reaction during an emergency. And create a buddy check system to perform temperature and overall physical checks from time to time. Make sure to watch out for scratches or bites that may need attention.
Keep Safe While on the Road
Keep your emergency contact with you always and a copy in your glove compartment and emergency bag
Inform your chosen emergency contact of your trip. And establish an agreement that he or she should answer possible calls from unknown numbers. Keep the details updated like name, contact number, and relationship. Your emergency contact card should also include your details: name, blood type, and food or medicine allergies. These will come in handy in case of emergencies.
Let a trusted person know your whereabouts

Designate a friend or family member not going with you on the trip as your home contact. Give them a copy of your itinerary and inform them if there are last-minute changes. Establish a check-in mechanism with them like every after 4 hours or every stopover, and make sure to follow them to avoid unnecessary panic in case you forget to check with them. You can also ask them to call you from time to time. This mechanism can save you from untoward incidents like kidnapping or carnapping and unexpected followers during the trip.
Try stealth camping

If you’re in a place where parking is not protected, or you won’t be using public land as parking. People mustn’t know you are inside, so fly under the radar: arrive late, leave early, and not leave your van. No one should know you are inside your van. Choose residential, commercial, or well-lit areas and put up a privacy screen on your windows.
Van Security Essentials
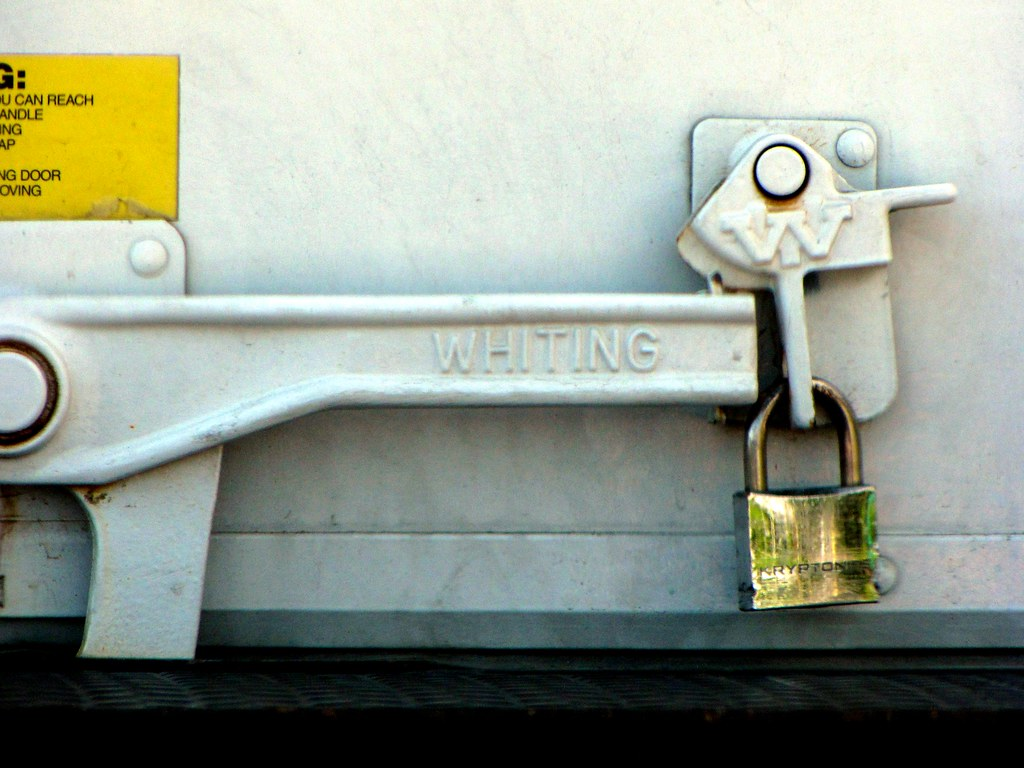
If you have embraced van camping life, it is best to invest in van security. Install secondary locks like a hasp lock for your rear doors and reinforce side door locks. It is said that back doors are the weakest point of entry on vans. People tend to support side door locks by default but seem to forget to reinforce the rear door. You can invest in a steering wheel lock or a more advanced battery block. A battery block is also known as a battery isolator. It is an electromagnetic battery disconnect switch and disrupts the electrical system of the van when activated. Even if you start the van, it will not run as the battery is disconnected. This can give you a few minutes to call for help if someone tries to steal your van. Or you can install a vehicle GPS tracking device, a bit on the expensive side but a lot more secure. Last, don’t forget the road flares and keep them handy.
Conclusion
Van camping is gaining popularity because it offers a perfect opportunity to get away for the weekend and a glimpse of a new way of life. Regardless if you have chosen to embrace van living fully or just on a weekend trip, keep your first distances short. This way, you can go back home quickly when needed. You can slowly build up your distance and apply lessons from the previous trip. Build your essentials using those discussed here and adopt those applicable depending on your way of life. There will be a few struggles as you find your way into van camping, you’ll manage and gradually build your confidence to go on longer trips.


