

More people have been looking to start a life on the road due to the COVID-19 pandemic. , With this said, you should know the perfect van life set up. Building your own van can be overwhelming, and you may not know where to start. Now, a typical van set up can cost between a few hundred bucks to thousands depending on your setup.
What is the best van life set up? A bed that doesn’t take up too much space and a small kitchen is all you need when setting up your van. You also want to consider proper insulation and flooring as the best way to ensure you have the best van life setup.
In this article, I will talk about the perfect van for van life living, how to plan out your van life set up, and how to design as well as test the layout. I will also talk about how you can get your van into shape with insulation and avoiding condensation. Lastly, you will also read whether you need a bathroom in your van set up and how you can take advantage of the space in creating your bedroom.
Choose the Perfect Van for You
Now, the most crucial step in setting up your van is choosing the vehicle. There are many types and models of vans that you can choose from. The best one would depend on your needs as well as wants. Some vans are great for extra space, others for stealthing, and others are more cost-effective.
If you want something with less work, you can buy a van that’s already converted. However, this would cost more. Since you are here, you are most likely thinking of building your van the DIY way. When starting your build, you need to think of your budget, how much space you need, and its mechanical ability.
In the following section, I will discuss the different types of vans that you can buy to create your van life set up.
VW Vanagon — Budget Savers

The VW Vanagon is the classic van set up where you can add a pop-top and pre-build the interior. Now, when it comes to this van, you may need a lot of mechanical repairs in the future, which can take a toll on your budget while you are on the road. If you are planning to van life stealth, this may not be the best van to choose.
This van is fun to cruise around in, and the camper setup is functional, which can add a ton of extra headroom if you need it. If you are on a budget and don’t want to deal with mechanical issues, there are much better van options for you in the market.
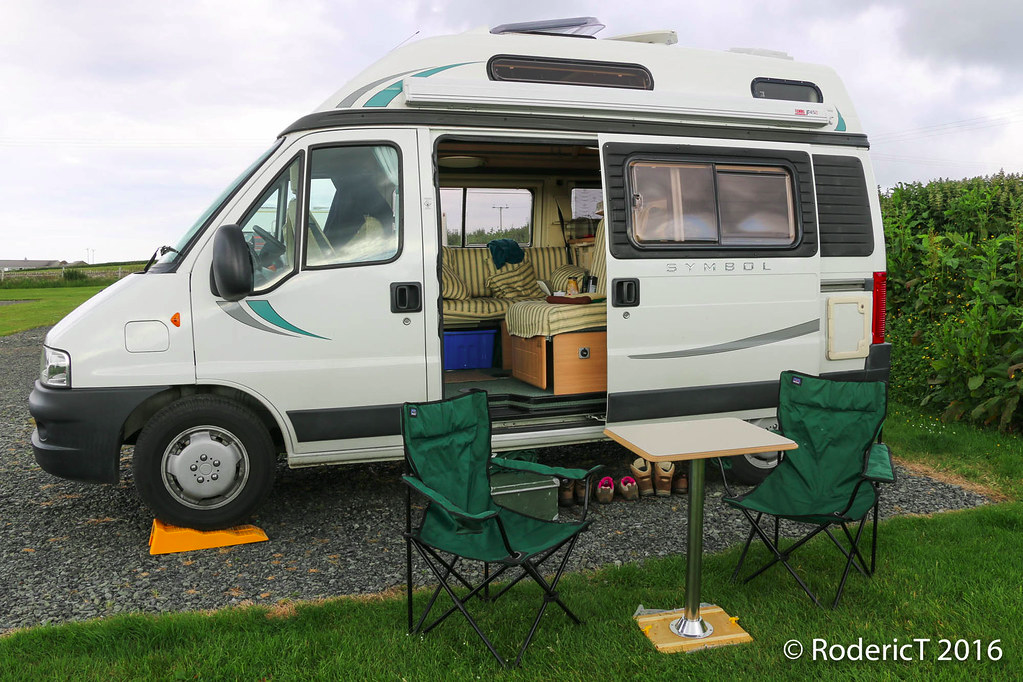
Ever So Popular Euro-Style Vans
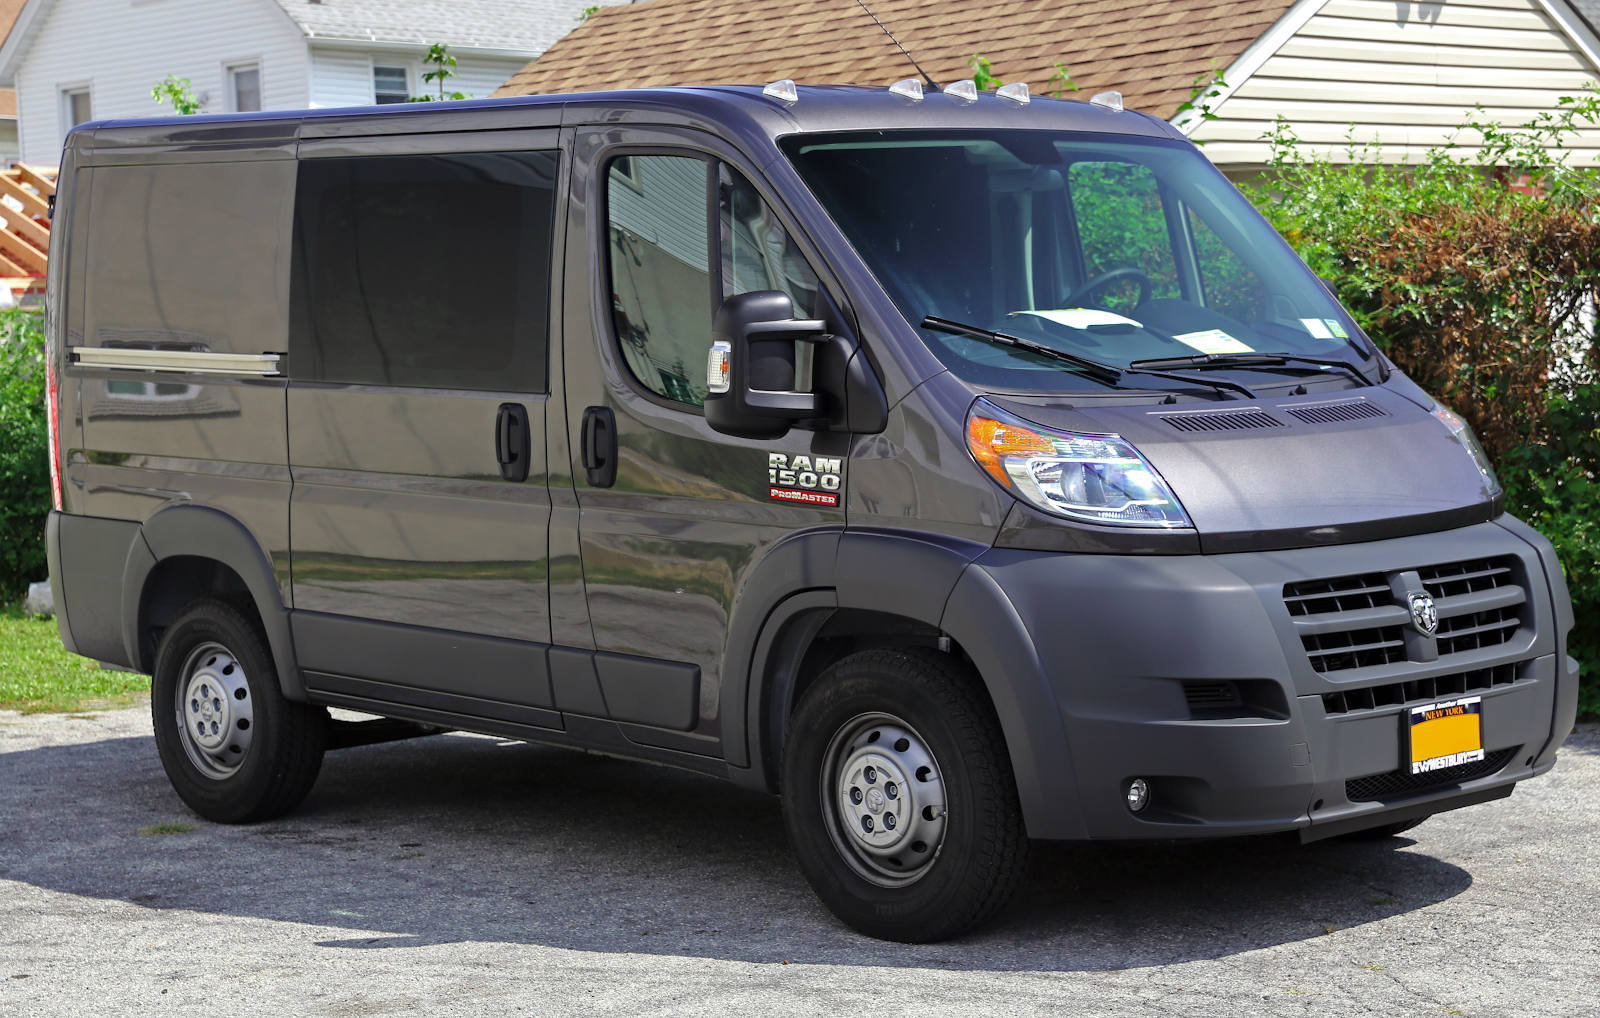
Euro-style vans are sprinters, transits, and promasters, which have been around for a while. These vans are known for their interior height, long wheelbase, and boxier shape. If you want a spacious, functional living space, this is the best van for you. The most famous Euro-Style Vans are Mercedes or Dodge Sprinters, Ford Transits, and Ford Promaster.
Now, these types of vans are a lot more expensive than other vans. It can be tough to find anything reasonably priced with less than 200,000 miles. Mercedes Sprinters’ parts are more costly and difficult to find mechanics that have experience working on them.
If you have the money, then this is the best van for you to buy. If you need flexibility and space, Euro-Style vans are your best bet.
The Spacious High Top Conversion Vans
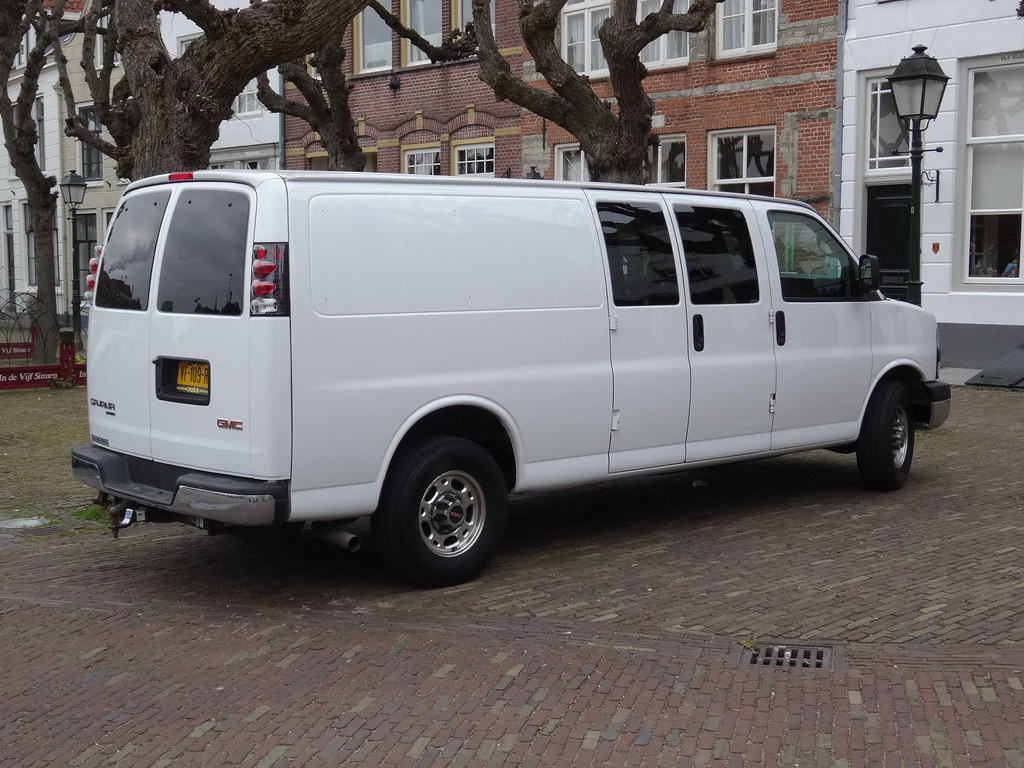
High-top conversion vans are typically full-size passenger vans. The Chevy Express or GMC Savana, Ford Econoline, and Dodge Ram are the choices you have for high top conversions. These types of vans are great for converting into comfortable traveling vehicles or wheelchair lift vans, which at times are already built-in.
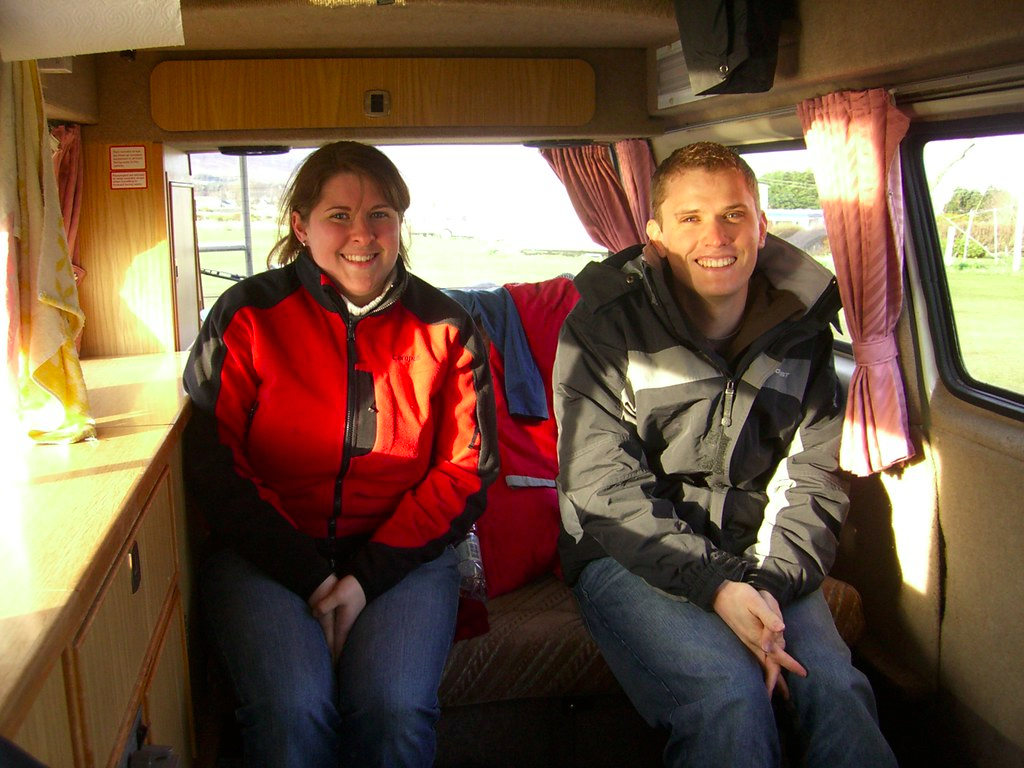
Some have comfy captain chairs, leather seats, mood lighting, TV, and a rear bench seat that folds into bed. Giving you the luxury van that you can have in your life on the road. Great for those who are picky with their living situation. You can also customize the van yourself, which offers tons of great storage options that other vans don’t have.
High-top conversions are pretty cheap. Since conversion van owners don’t use them as daily drivers, older ones usually have lower-mileage. These vehicles are generally in good condition, so finding a good van is not that difficult.
If you want a complete DIY conversion, everything needs to be gutted and cleaned, which can take a lot of extra work. This is because it has a weird shape and fiberglass construction, making it difficult to install solar panels, ceiling, or anything else on the roof. Some auto repair shops are not tall enough to cater to these types of vans. So, when you need major work done, it will be hard to find repair shops for your van.
The high tops conversion are the best combination of affordability, versatility, and space than any other vans out there.
Plan Out the Van Build Layout
If you know how the layout will be is important and probably the most exciting part of the van conversion. There are endless possibilities because it is fun to imagine different things that can help you identify the van you want. It takes a lot of careful planning and thought when you want to start your van life set up.
You need to figure out how you are going to cram everything you need into a small space. However, you need to make sure everything is livable and comfortable for you.
Number of People Living in Your Van
The number of people living in your van is one of the most critical factors you need to consider. You need to consider your pets as well. Remember, the more people you have, the more bed space you will need in your van. Additional convertible sleeping areas will be required for more people.
Now, the people living in the van are not the only thing you need to think about. You also need to think about the space for people or guests to hang out when you have them over.
The Height of the People Living in the Van
Aside from the number of people living in the van, you also have to consider your and their height. You don’t want to bump your head on the roof of your van when you are trying to move about in it. You also have to consider various factors when it comes to height.
For example, if you are over six feet tall, layouts where the bed goes across the van, will prevent you from comfortably stretching. When short, on the other hand, a crosswise bed wouldn’t be a huge problem during your van set up.
Storage Space and Cooking Space is Important
Storage and cooking spaces should fit all of the belongings that you have. This is important if you have a lot of things like clothes, instruments, equipment, etc. However, when starting your van life, you need to downsize as much as possible. You need a place to store everything is important.
It is also a good idea to include a full kitchen with a water tank, countertop, sink, fridge, and stove. This is also ideal if you are fond of cooking and also provides the opportunity for you to have enough space for your dry food storage.
Working Space
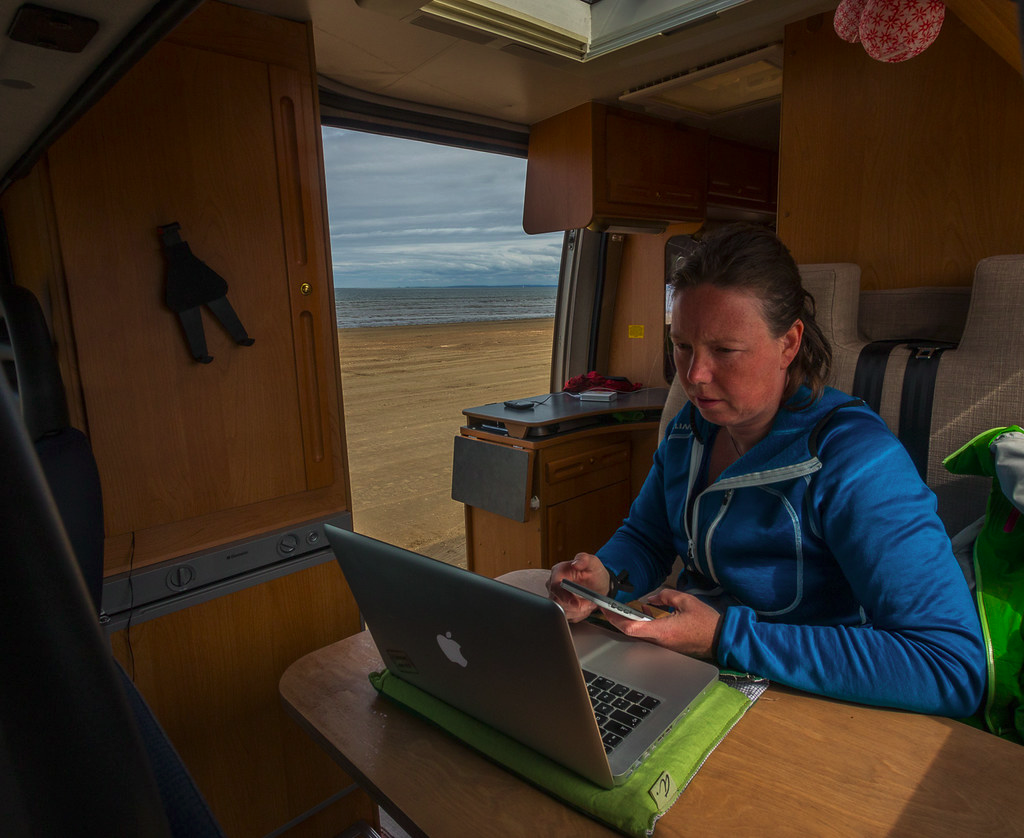
When you are on the road, you need to find a way to earn money, and most likely, you will have computer-based work. So, it would be best if you considered a comfortable seating area. Some people can turn their dining table into an office, while others have their office under their foldable bed. It is really up to you how you want to set up your working space’s layout in your van.
Designing and Testing the Layout
When it comes to designing your van, you may have tons of ideas in mind. You need to make sure to draw out your ideas. You can do this by taking paper, a pencil, and a ruler, which will allow you to sketch layout concepts. With this method, you can see how everything will fit together. You can work out any potential problems if needed.
Start by drawing layouts to scale about one inch to a foot. Once you have decided on the basic design, it is time to test it in your van. You can block out your layout using painter’s tape or even have full-scale mockups out of scrap wood and cardboard. If you have extra time, you can iron out the issues before starting your van life build.
Getting Your Van Into Shape
Now, getting your van into shape can be challenging, especially when buying a second-hand, inexpensive van. It may be a big project rather than buying a brand new van. Unbolting all the parts can take a huge amount of work to get done, so you can expect you will be working on it for a full day.
If there are parts that you find in good condition, you can sell the parts so that you can add the money to your van conversion. If there are parts that need to be removed, you need to do this first before you start on anything else. Getting your van in shape is where soundproofing, insulating, installing barriers, roof sealants come in.
Soundproofing Your Van
When you are planning to have a full van buildout, it is worth looking into soundproofing your van. The number of noise contributors in a van is the large, thin sheets of metal that may reverberate while you are driving. The sound effects can happen when the sound waves hit the walls. When the outside noise hits panels, they can vibrate, making the sound transferring right through the van.
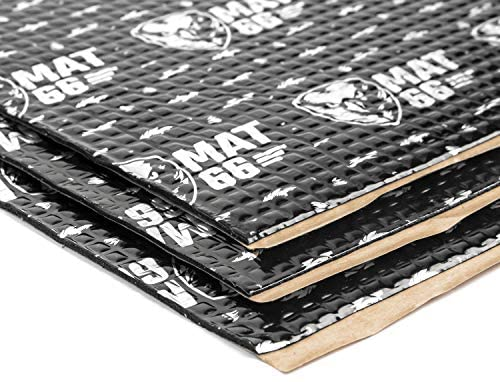
Now, the best material to use for soundproofing is the Fatmat Rattletrap and Noico. It is a peel and stick product that is applied to your vehicle to dampen any noise. This is the cheaper option when it comes to soundproofing your van. You don’t need 100 percent coverage for sound dampening to work. You can simply apply this to your walls, floor, ceiling, cab, doors, wheel wells, and underneath the hood.
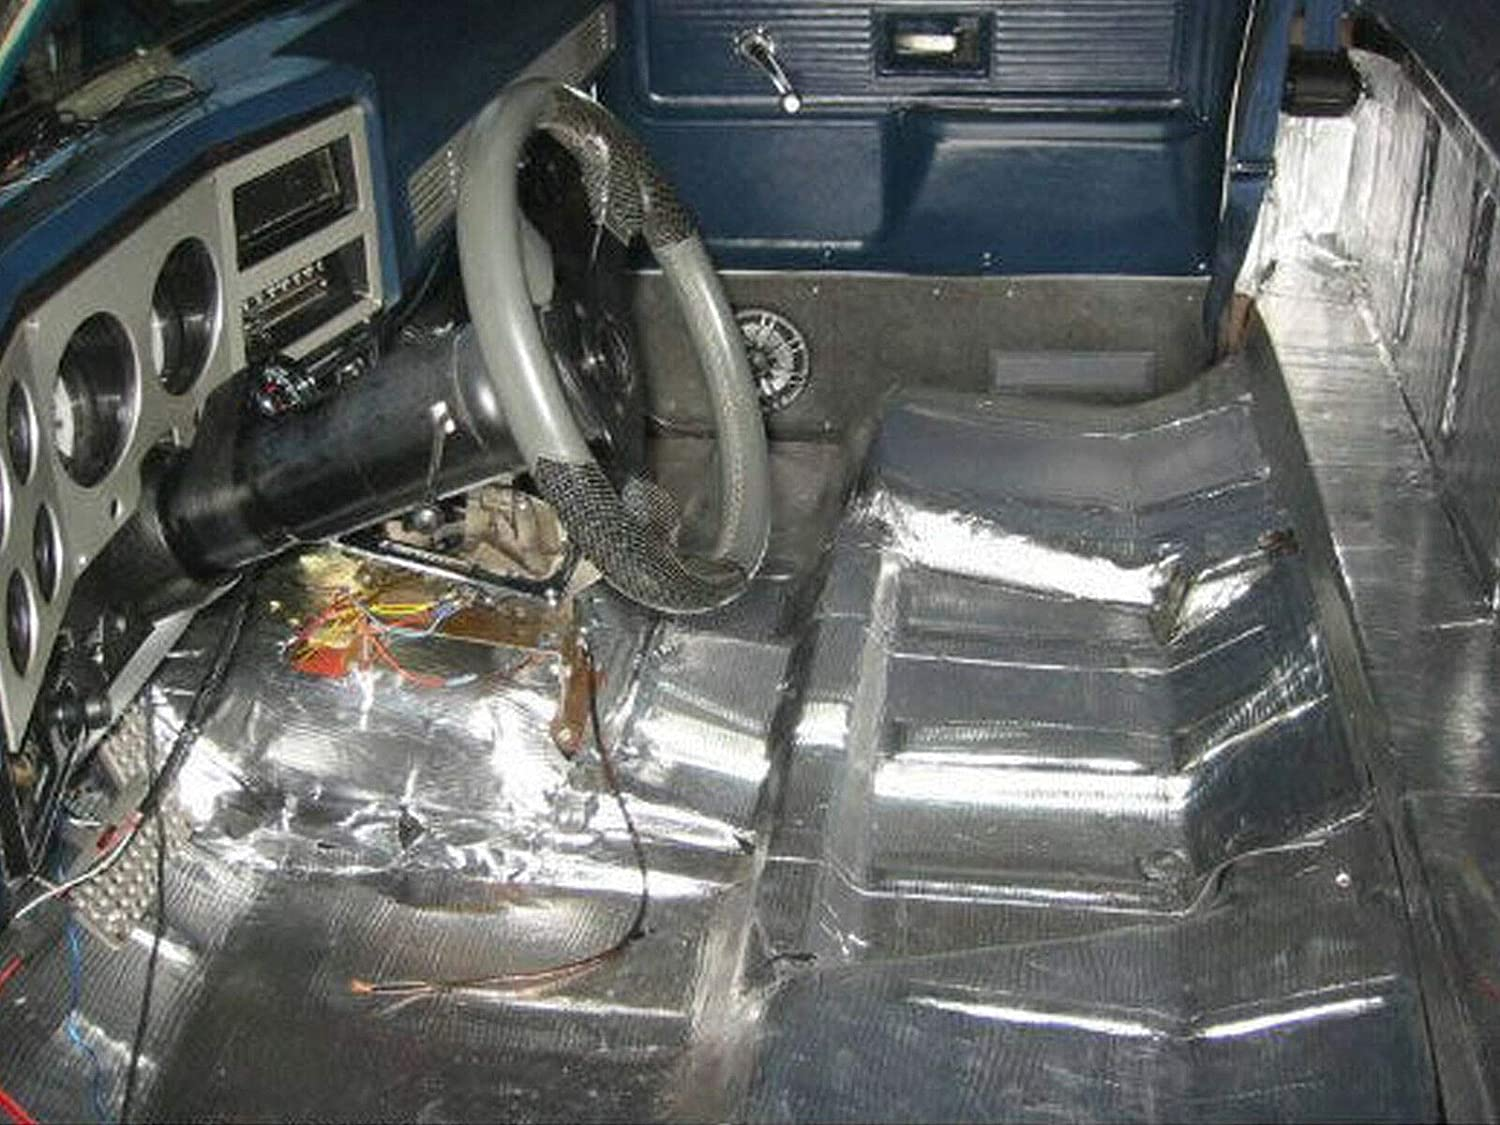
Insulating Your Van For the Winter

Before you start the insulation process, the van should be deconstructed. You need to remove seating or unwanted materials from the walls to the floor. Be on the lookout for old rust spots, which should be removed. The gaping holes in the walls or floors should be repaired or sealed as well.
You need to focus on the floor, walls, ceiling, and windows to seal everything up. Now, the floor is the least essential part that you need to insulate. There are some people that choose not to insulate the floors at all. Covering holes on the floor is more important than insulating them. Make sure you pick materials that have a high R-value in the thinnest amount of space.
Extruded Polystyrene (XPS) is best used for floors and goes straight to plywood, which will entirely skip the insulating process.
Now, when you insulate the walls, you can get a lot of return investment. Your material choice will depend a lot on your personal preference. Other vans are more square and rigid, which gives less opportunity to bend the insulation material you will use. You have to take note that vans that are designed with more curves need more flexible material.
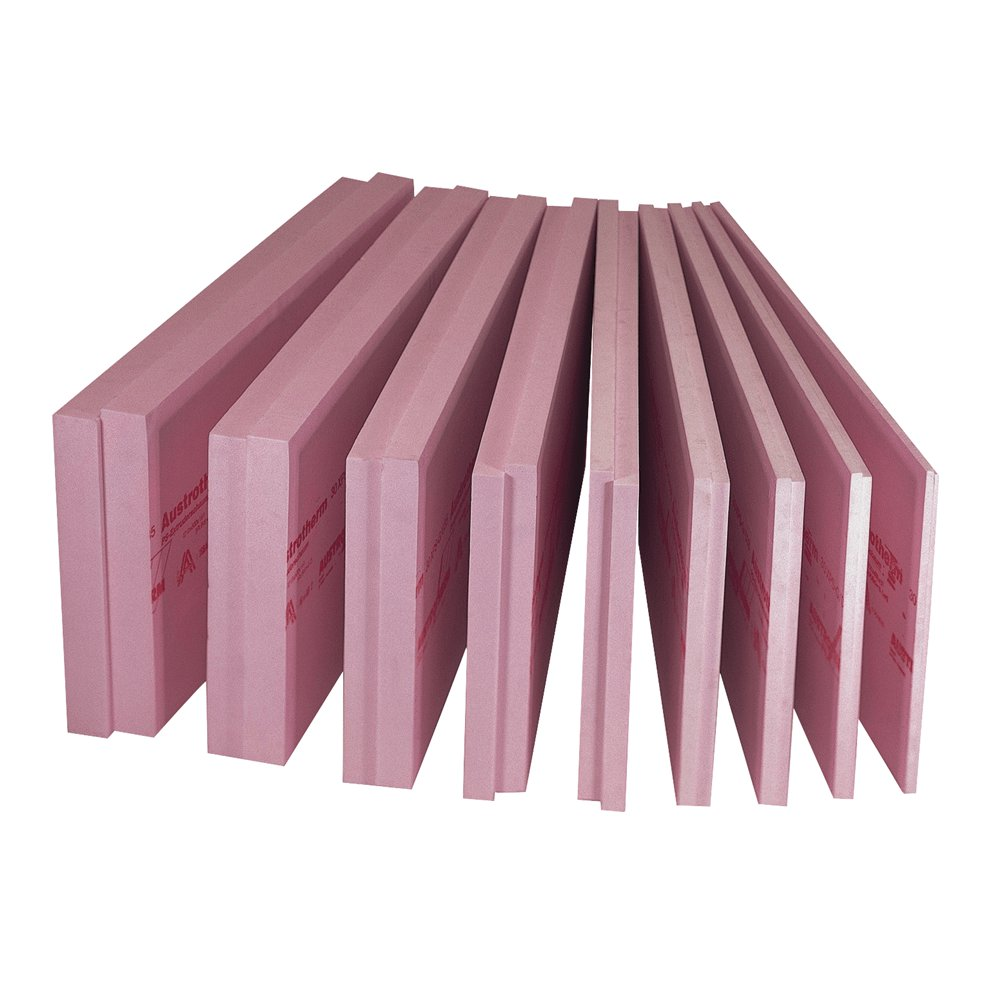
Reflectix is a popular material that you hear about, but this is not ideal for insulation. You can only use this material if you plan on placing it on a sizable air gap. Make sure to use Extruded Polystyrene (Blue and Pink Foam) instead. These can be found in hardware and online stores.
Extruded Polystyrene is a less expensive choice of insulation, and it doesn’t retain water. So, you don’t need to worry about mold issues when sealed correctly. It is also one of the most popular options when it comes to insulation.
Avoid Condensation and Moisture Buildup

If you plan on staying in cold weather areas, it is best to consider proper ventilation to avoid any condensation. It is necessary to have constant airflow throughout the van. Make sure to bring cooler, drier air in and push humid air out. You can do this by cracking open a window which may not sound like a comfortable idea during the cold weather. However, it does work in removing condensation and moisture buildup.
You can also purchase dehumidifiers and moisture absorbers since they can also be a big help. Besides that, you can add a vent fan to your van’s ceiling during the van conversion. It should be something that you can run for an extended period of time with a cracked window. It is a great solution to mitigating moisture that might buildup in your van. The 12V vent fan in your ceiling is the perfect piece to add to your van.
Knowing the dangers that condensation may bring is important. It can cause excess moisture that can turn into mold and become dangerous to your health and to others that are living in your van. Aside from that, it can cause skin, eye, and throat irritation as well. Proper airflow is the key to avoid any condensation and moisture buildup that can happen in your van.
Roof Sealant for Leaks and Cracks
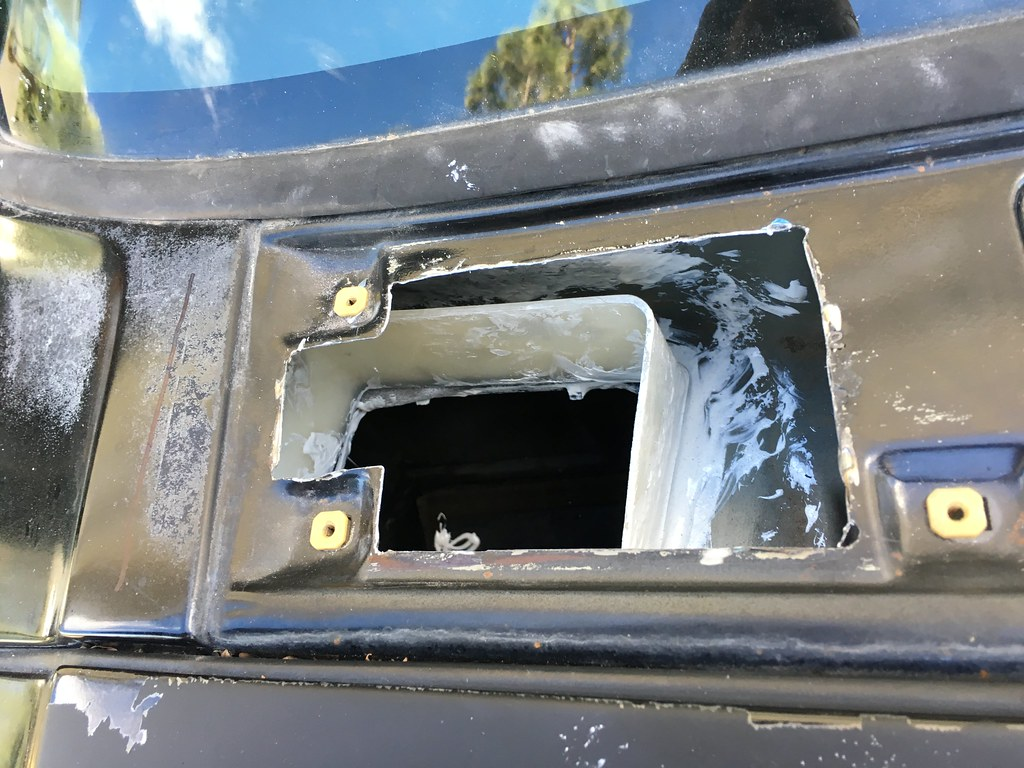
One of the biggest concerns of van lifers is water damage. Roof leaks can be one of the biggest culprits aside from problems with plumbing systems. However, roof leaks are easy to repair. With the help of roof sealant products, it can seal cracks, junctions, and imperfections. Noticeable cracks are usually found around the vent fans, antennas, wirings that enter the roof, and on top of bolts or screws.
Make sure that you apply the sealants to the said places of your van. When choosing your sealant, it is best to use liquid instead of cream. It offers a long-lasting watertight seal, but it can be a bit more challenging to apply than other adhesives. You would need a steady hand and a bit of practice before using liquid sealants.
It is, however, more forgiving during applications. If a mistake is made, you can just wipe away the material before it dries, and then you would have to start over. It also works great in corners, uneven surfaces, or dolloping over nuts and bolts.
Get Those Flooring Set
Floorings are also an important part of your van, just like in an ordinary home. There are several layers when it comes to the van’s flooring. The layers are as follows: sound deadener (optional), insulation (optional but it is recommended), subfloor, and main floor. When you are done with the insulation process and fixing your van’s cracks, flooring comes next.
An excellent looking flooring is not as expensive as you think, and understanding each layer is important.
First Layer — Sound Deadener
As mentioned above, the sound deadener can get rid of road noise when you are driving. Installing a deadening can help you enjoy your drive more. However, this is not a cheap material to install in your van. Since it is optional, if you have no budget, there is no need to install it. When you apply this first layer, it will double the cost of your van’s floor installation.
If you have long vans like Sprinters, you will need a lot of deadening material, meaning there would be more costly.
Second Layer — Insulation
Insulation is optional. However, it is recommended. The reason for this is insulation flooring prevents heat from below rising into the van during hot days. It will help keep the floor warm during cold days as well. Insulating your van’s flooring will also prevent drafts affecting your van’s internal temperature.
In my opinion, if you have the extra money, it is best to install insulation on your flooring. It helps a lot, especially during the winter.
Third Layer — Subfloor
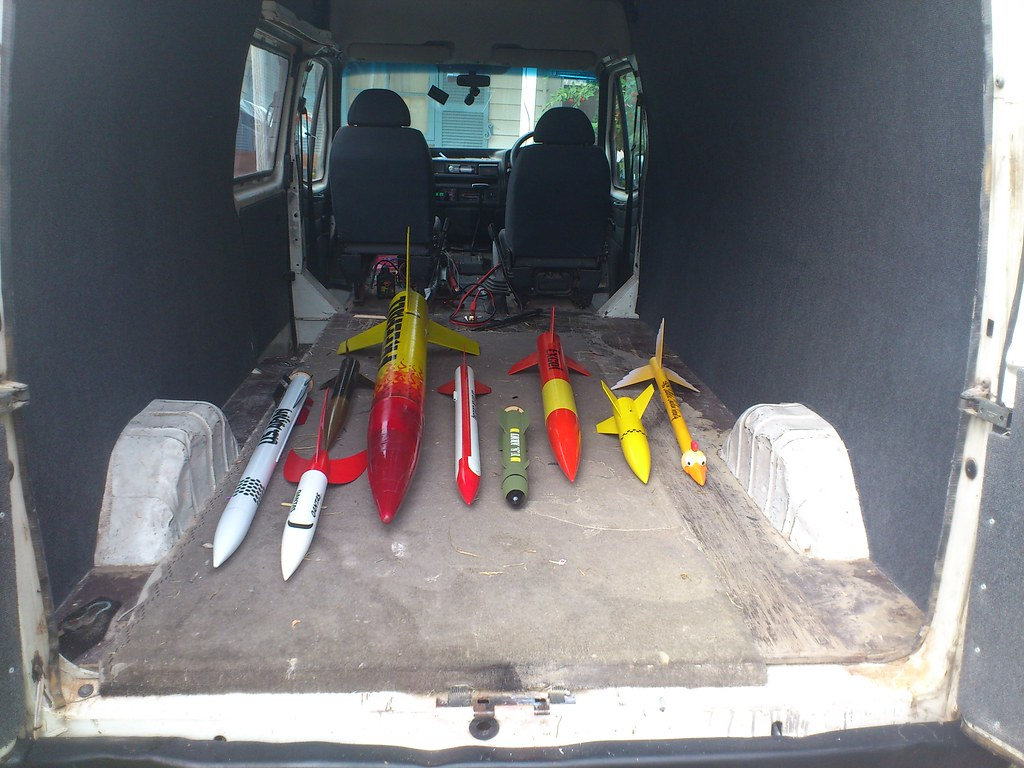
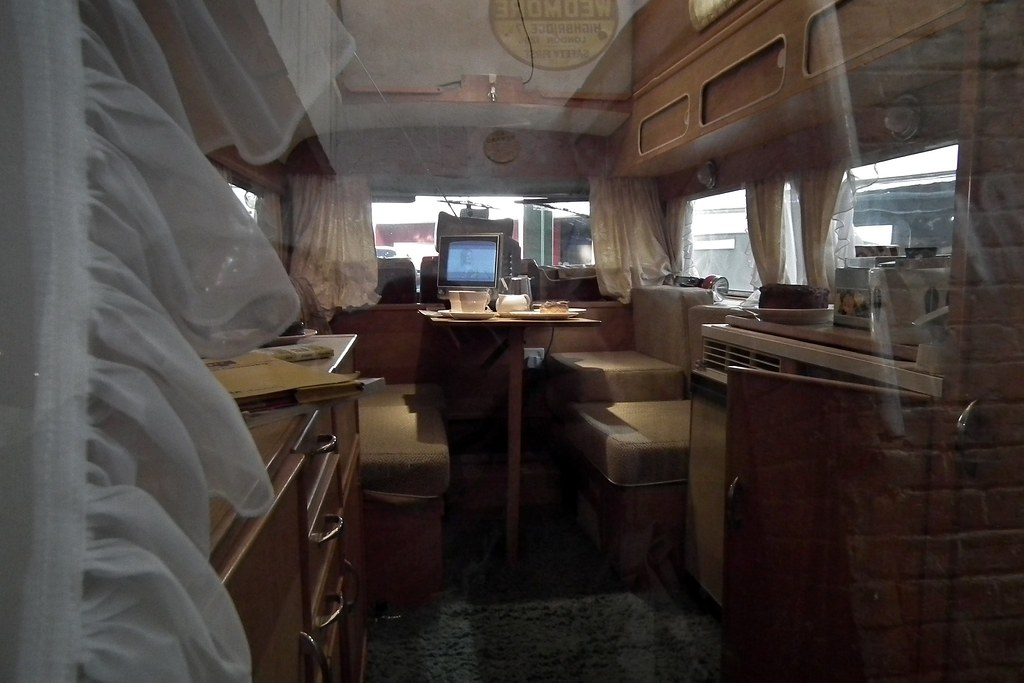
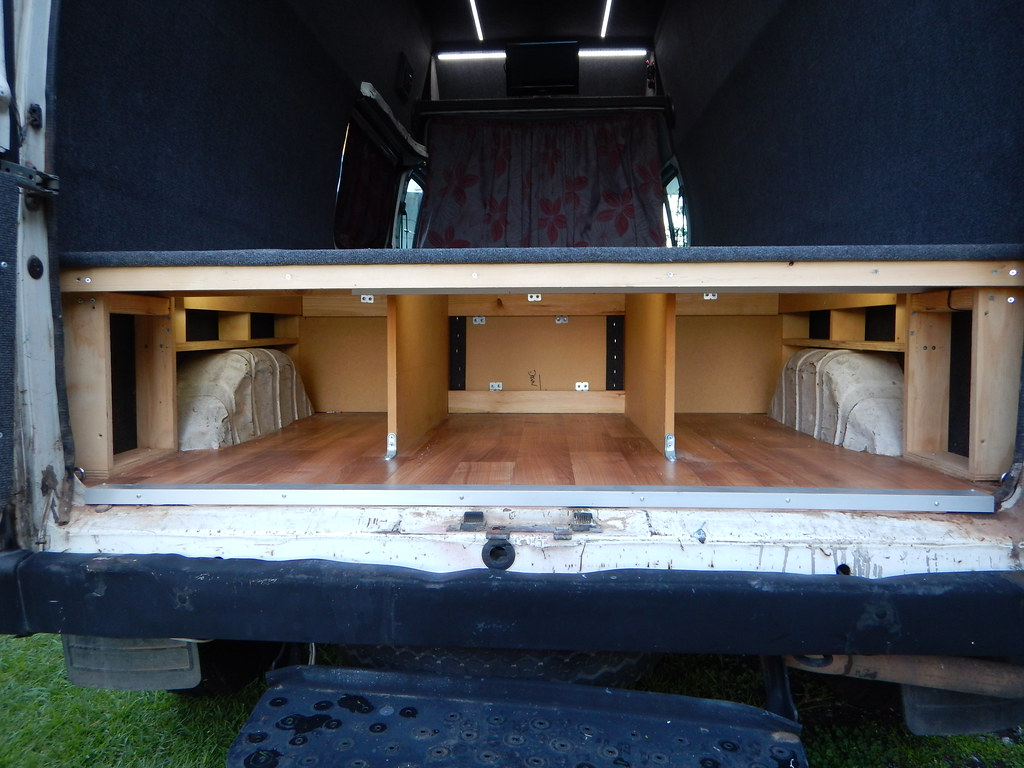
Image Source: “Mission Control – Last view without the seats & bed (19th April, 2012)” by Sascha Grant is licensed under CC BY-NC-ND 2.0
Now, the third layer is your subflooring which provides a stable layer to your floor. You can simply use a sheet of plywood for your subfloor. You have to take note that the thicker the subfloor, the higher the cost and weight. It will also take valuable space on your van’s height. The ideal plywood used for subflooring is ½ inch, which provides a stable subfloor and enough grip for securing furniture. It is also not too thick or heavy for a van’s flooring.
Fourth Layer — Flooring
When it comes to the fourth and final layer of your flooring, you have a lot of materials to choose from. First, you have laminate flooring, which is simple and easy to install. It is also cheap and easy to maintain as well as clean. This flooring will provide the beauty you want for your flooring without having to spend too much. Now, if your dogs may have a hard time walking on it without slipping. In this case, you might want to get laminate flooring with texture instead.
Second, you have cork flooring, which helps insulate the van’s flooring. Cork flooring is best to use when deciding not to install a sound deadener on the first layer. It comes in different colors and styles, providing your van’s floor a unique look. It is impenetrable when it comes to mold and mildew.
The downside to cork flooring is that it can get expensive, costing four to ten times as much as laminate flooring. It can be a bit of a hassle because it needs regular maintenance. Also, it is prone to stains and scratches, so not an ideal flooring if you have pets with you.
You may think that hardwood flooring may be an excellent addition to your van’s flooring, but it is not recommended. It is heavier than the other materials that are mentioned above. Not only is it heavy, but it is also expensive, and the thickness is at least ¾ inches. Having said this, there is no need to choose a flooring that is thicker than ¼ inch.
Choosing a thickness that is more than the ideal thickness can leave you with less headroom. If you are okay with losing a bit of headroom, why not install that beautiful hardwood floor. It can be a unique addition to your van life setup.
Adding a Bathroom — Yey or Nay?
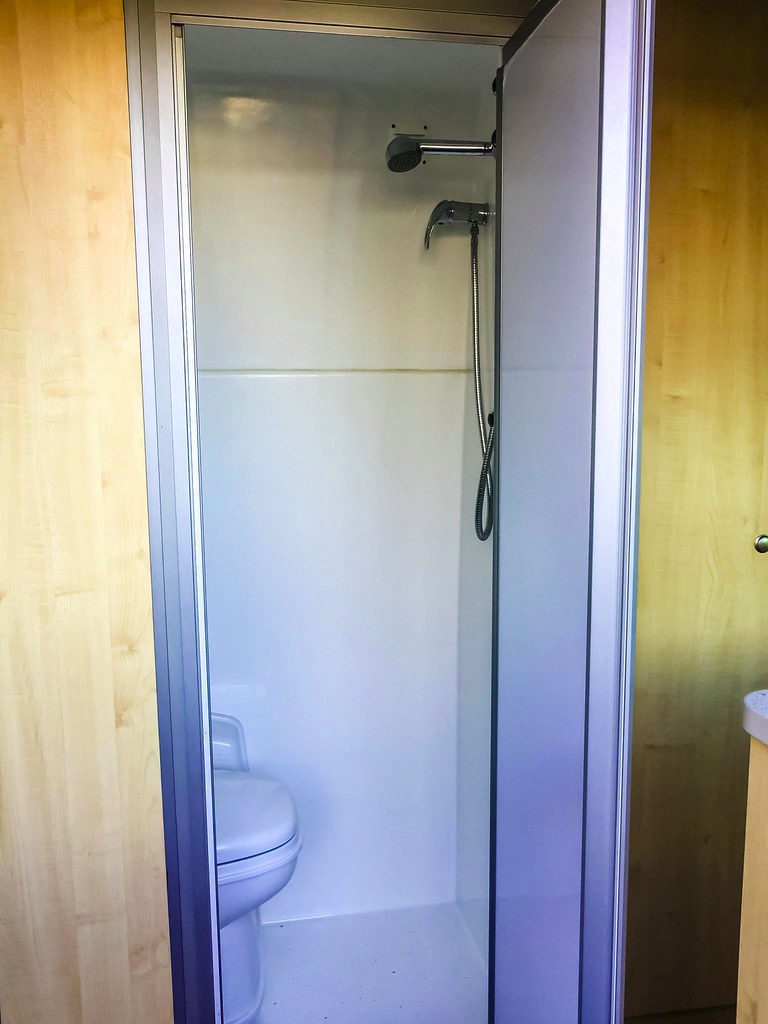
Image Source: “Mercedes Sprinter Campervan-2” by Quick Shot Photos is licensed under CC BY-NC-SA 2.0
Now, in my opinion, a full bathroom is not necessary for a van since it can take too much space. However, if you are not comfortable going to public bathrooms and want to be safe during this pandemic, you can go right ahead. Having a bathroom in your van may have the potential risk of unpleasant smells spreading. You would also need to deal with dumping your waste somehow. There are many more accessible places to go to the bathroom than having one in your van isn’t necessary.
Public Bathrooms for Your Needs
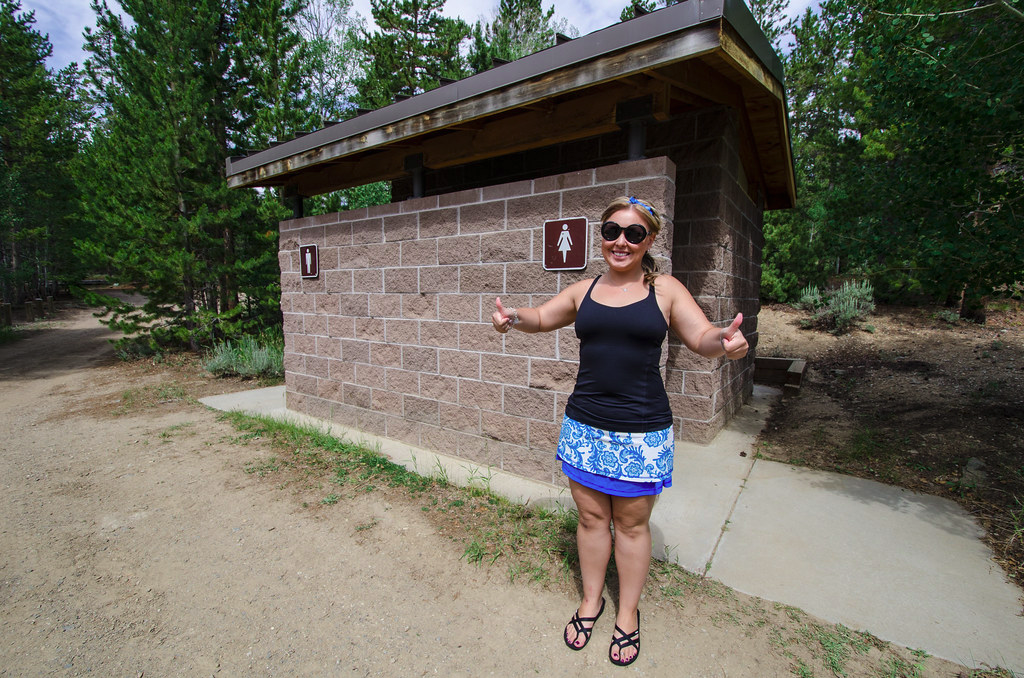
Image Source: “Yay for rustic bathrooms!” by m01229 is licensed under CC BY 2.0
Not having a bathroom in your van can be intimidating, but there are a lot of public bathrooms spread throughout the entire country. There are also apps, such as Flush, that you can use to find the nearest bathroom in your area. Some campgrounds also have some sort of bathroom situations, but they may have a fee for you to pay.
If you really have to go, there are some pit toilets or vault toilets that are available on your current route. As I’ve mentioned above, it may not be ideal to use public bathrooms during the pandemic. So, you might want to think about adding a bathroom in your van.
Portable Toilets is the Best Way to Go
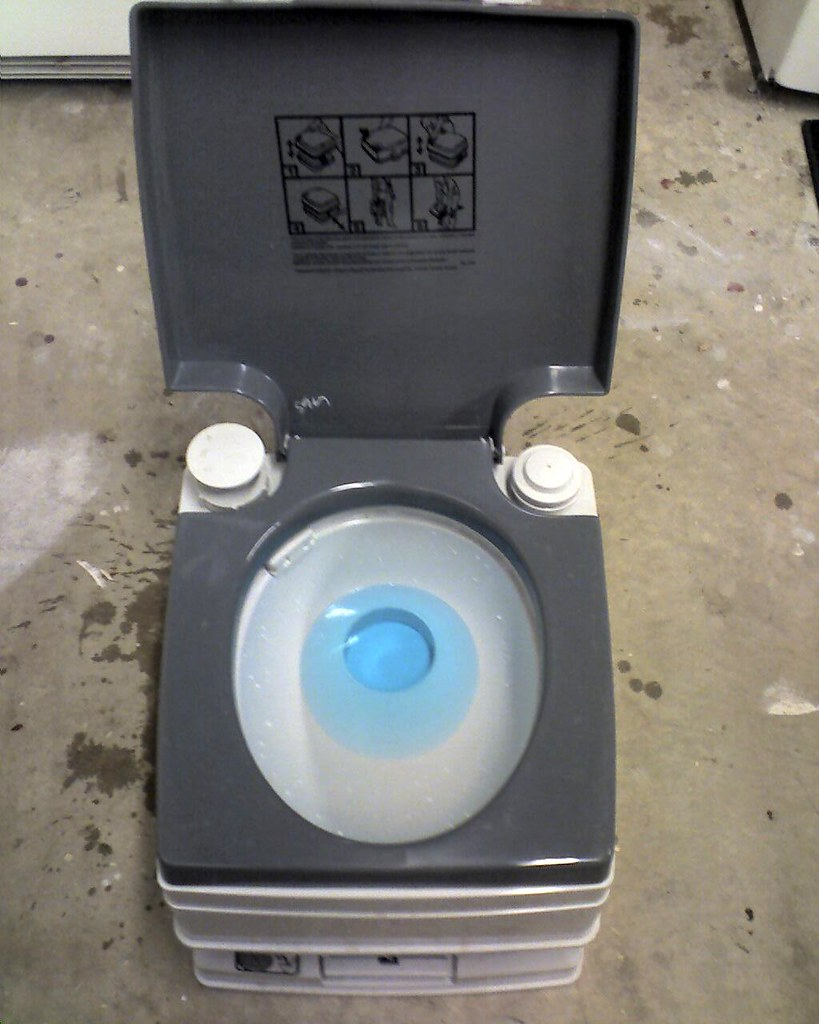
Image Source: “Making sure the portable toilet is working” by slworking2 is licensed under CC BY-NC-SA 2.0
Portable toilets are best for those who are willing to sacrifice their van space. A full-blown bathroom and blackwater tank can be expensive and complex for a van. It’s only ideal for those who have an RV. Composting toilets are also available for your needs. It may be a bit expensive, but it’s more pleasant and environmentally friendly.
All you need to do is drop and add some peat moss or sawdust. Aside from buying the composting toilet, you can also create your own.
Showering and Feeling Refreshed
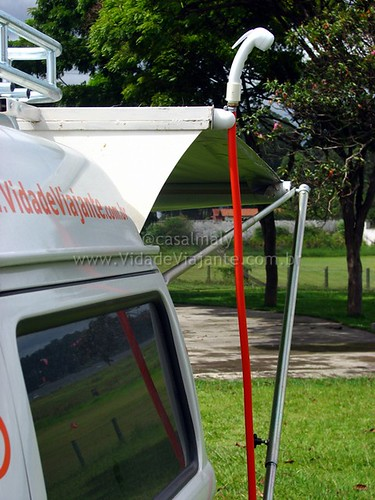
Image Source: “Ensaio Fotográfico da Alice (KombiHome) na Represa Guarapiranga – IMG_8528” by CasalMALY is licensed under CC BY 2.0
When it comes to showering, there are a lot of options that you can choose from. There are some shower alternatives that you can buy online or in physical stores that will fit your budget. There are free-to-use showers while others have a small amount fee. You can go to gyms, state parks, truck stops, etc.
If you are uncomfortable taking a shower in public places, you can opt to install solar showers and portable electric showers in your van. Now, you can use a baby wipe shower or the towel bath method in a hail mary situation.
Setting Up Your Kitchen
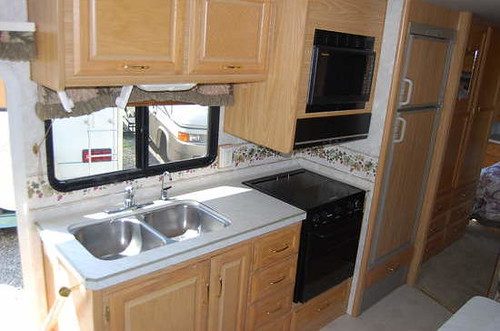
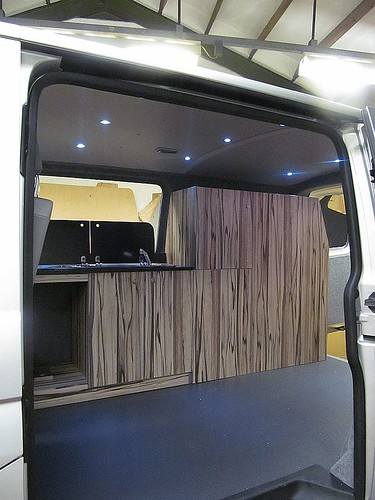
Image Source: “Kitchen Area” by Mozul is licensed under CC BY-NC-SA 2.0
If you are a van lifer that loves to cook, consider setting up a tiny kitchen for your cooking needs. You can build a small and simple countertop that can fit a one or two-burner stove, cutting board, small sink, and water container. Adding a kitchen in your van can also add storage space under the counter space for your cooking utensils, food, or other things that you can think of placing under the countertop.
You should also consider adding a fridge to your setup as well. When it comes to your stove, propane is your best bet. However, you need to add proper precautions when using propane stoves in your van. You can also add an oven to your van. As I’ve said, the sky’s the limit when it comes to your van life set up.
Cooler Vs. Refrigerators
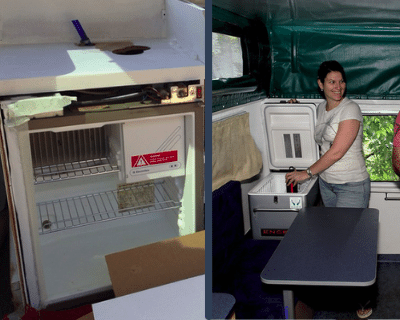
There’s a huge difference between coolers and refrigerators, especially in their price. High-end coolers can cost a couple of hundred dollars, while portable refrigerators can cost up to thousands of dollars. Now, when it comes to the coolers, your expenses don’t end there because you would have to have a continuous supply of ice. With portable refrigerators, you need to have an electrical system, which can get expensive.
You would need to install solar panels that can take up to 1.3Ah or more for the portable refrigerators to work. Temperature control, on the other hand, is more ideal when it comes to portable refrigerators. You can adjust the temperature by simply twisting a knob.
When it comes to maintenance, coolers can last longer than a few days as long as it is continuously filled with ice, which can take a lot of work. Portable refrigerators, on the other hand, don’t need to worry about the unit itself, but you also need to maintain your power source.
Weight is also a huge factor when you are considering buying portable refrigerators or coolers. Portable refrigerators are not that portable since they weigh more than coolers, and you won’t be able to take them anywhere like coolers. In my opinion, I would recommend buying coolers if you are camping ten days or less at a time. It is also best if you are planning to take your food anywhere. Coolers are low-budget and produce that will last a lifetime.
If you have a reasonable budget and know your way around electronics, a portable refrigerator is the best way to go. If you are okay with keeping it semi-stationary or a full-time van lifer, choose the portable refrigerator. You may also want to go this route if you need a freezer and have better temperature control. You easily place this under your countertop, which can save space.
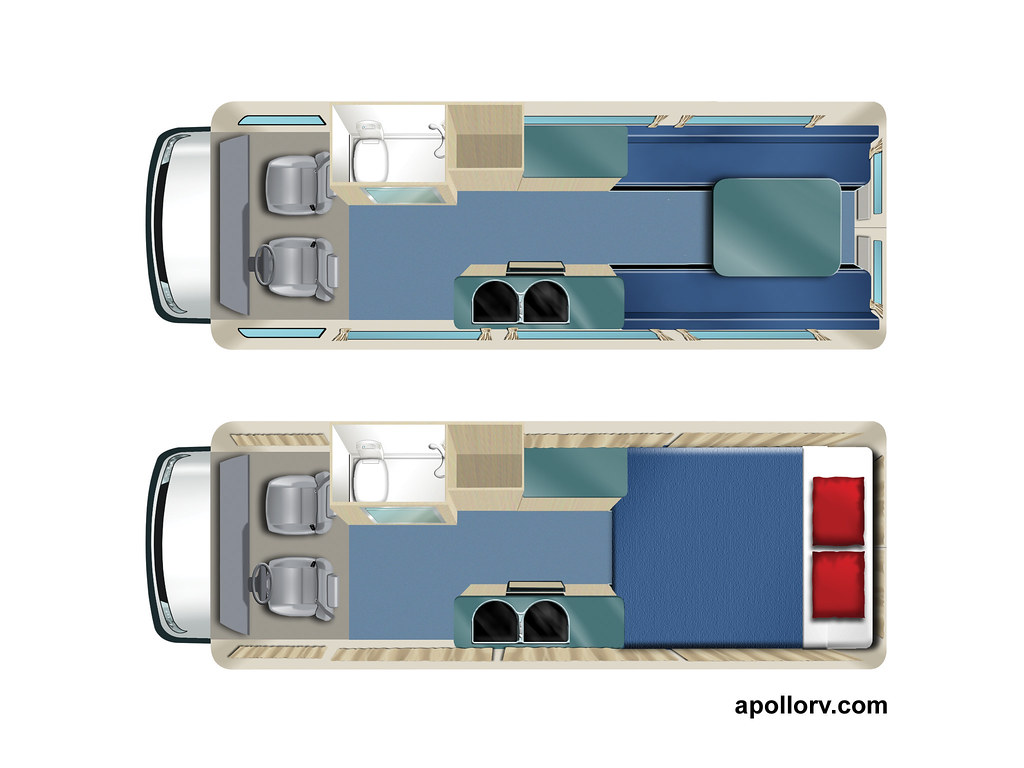
Stove for Your Cooking Needs
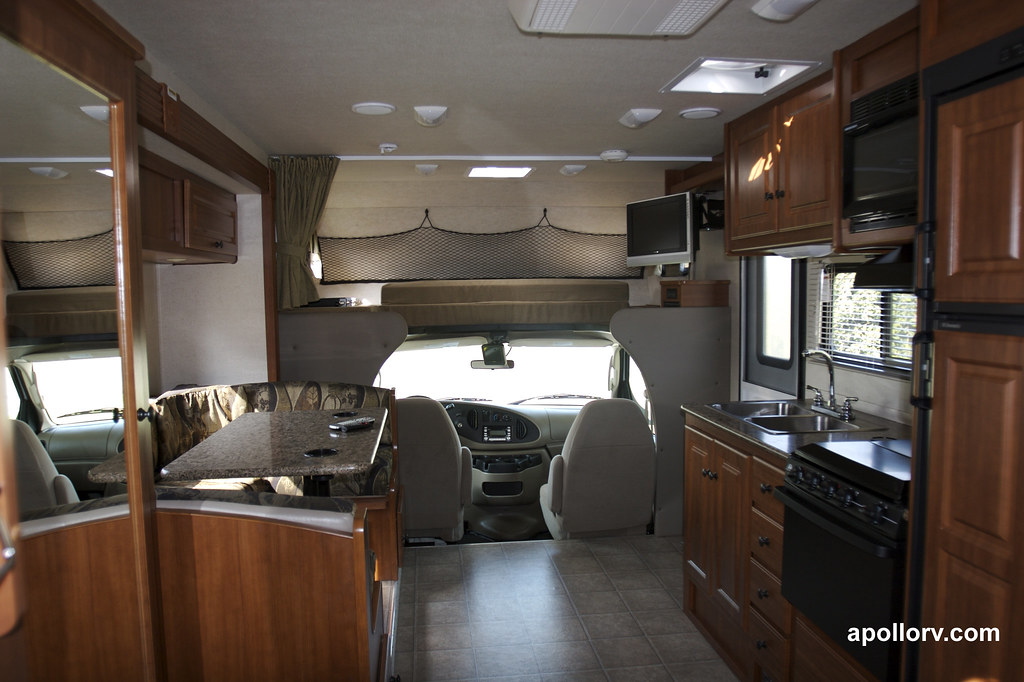
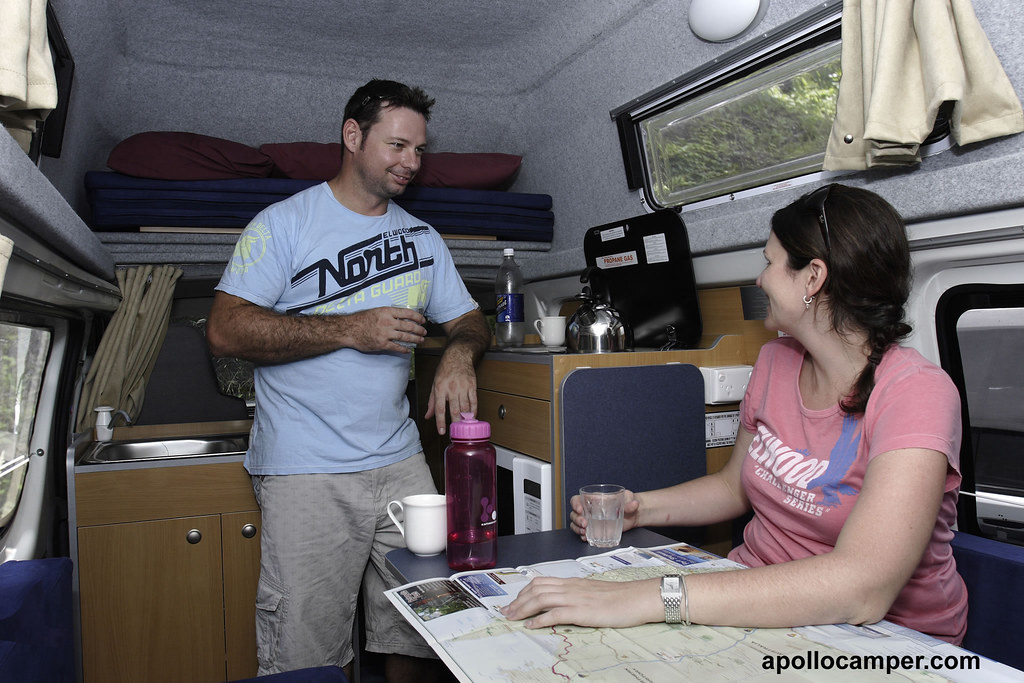
Image Source: “Apollo Sunrise Escape” by apollorv is licensed under CC BY-ND 2.0
When it comes to your cooking needs, it is required for you to install a vent fan when cooking inside the van. You would also need a carbon monoxide detector and a fire extinguisher nearby. As mentioned above, propane gas stoves are the popular choice of van lifers. However, you still have an electric stove and grill, and slide in or drop in the cooktop as your cooking selection.
If you are willing to sacrifice the space, you can add an oven and stove to your van. You also need to plan out your kitchen layout properly if you want to add this to your kitchen.
Sleep Tight and Don’t Let The Bedbugs Bite!
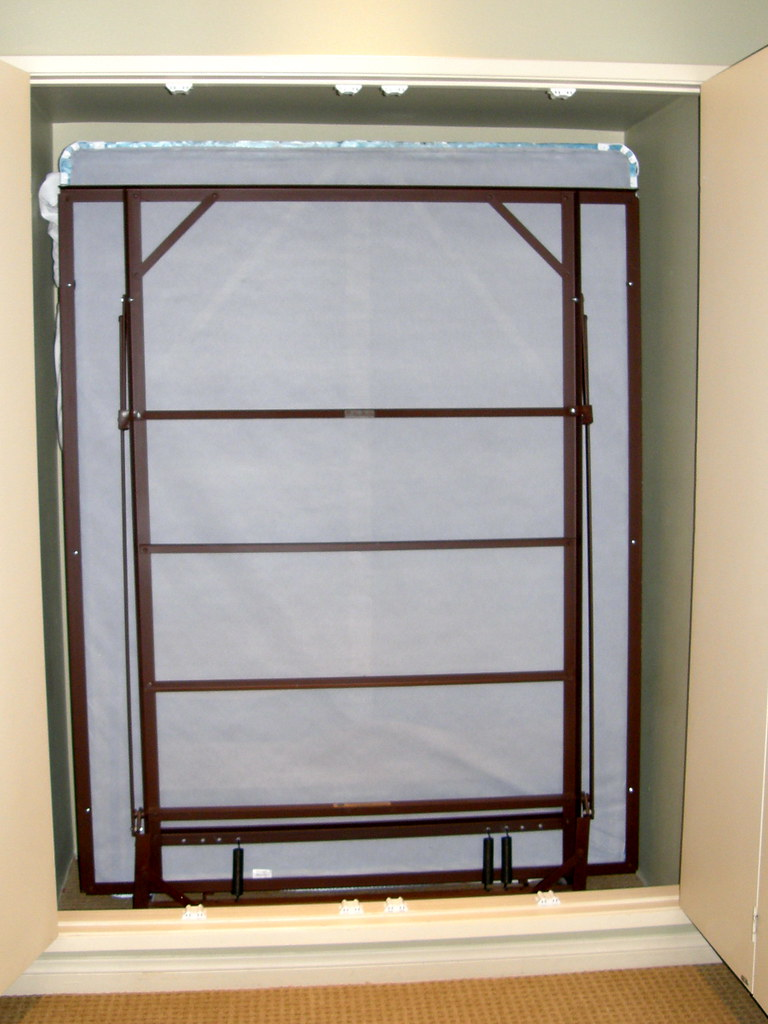
Image Source: “#7383 Murphy bed” by Nemo’s great uncle is licensed under CC BY-NC-SA 2.0
If you want to sleep like a baby in your van, you need to have a comfortable bed to sleep in. Murphy beds are great for those who want to create as much room in the van as possible. With this type of bed, there is no need to assemble it every time you crawl in. The bed can go up in the wall during the day and can be turned into a living or dining room, giving you more room to move. At night, just pull it down and crawl in.
Now, if you have kids, bunk beds are the best set up for you. Great for van lifers who have a bigger family since it can save floor space. The best part about bunk beds is kids will have their own space to sleep and even play during the day. They won’t bother your daily work in the morning or afternoon during the times when they are awake.
Before building your bedroom, you need to make sure you have determined your choice of bed. Whether you want a stationary bed or a foldable bed, you need to have a thorough plan. Again this would depend on how big your van is but for me, and it is best to get foldable if you are a couple or alone.
Conclusion
The van life set is one of the crucial steps that you need to consider when you want to start living your life on the road. Planning and designing is the crucial factor that you need to consider during this phase. It can be stressful and fun at the same time because you can run your imagination as far as you want. However, make sure you take note of your needs as well as your budget so that you can get the van life that you have always wanted. Happy building!


